ATTACKING ACTIVE DIRECTORY | BUILDING THE NETWORK
Objective
Setting up a network can be a difficult and tedious process. Especially if you have never done it before.
Four main components need to be setup to create the network needed for the scenario:
- Splunk Ubuntu Server
- Active Directory Server
- Windows 10 Client
- Attacker Kali Linux Machine
All of this can be done on the cloud such as AWS, Microsoft Azure, etc. However, I will be doing this locally on VMs using VirtualBox.
Implementation
Installing Client and Servers
Windows 10 Client
Download the Windows iso.
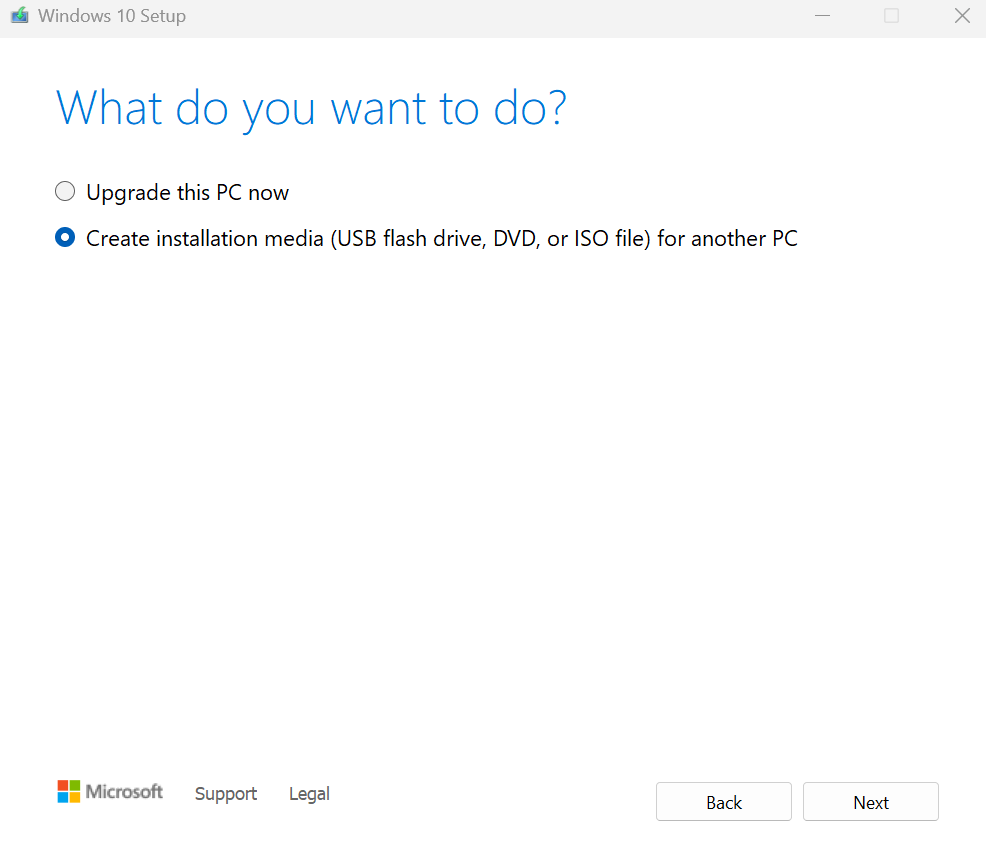
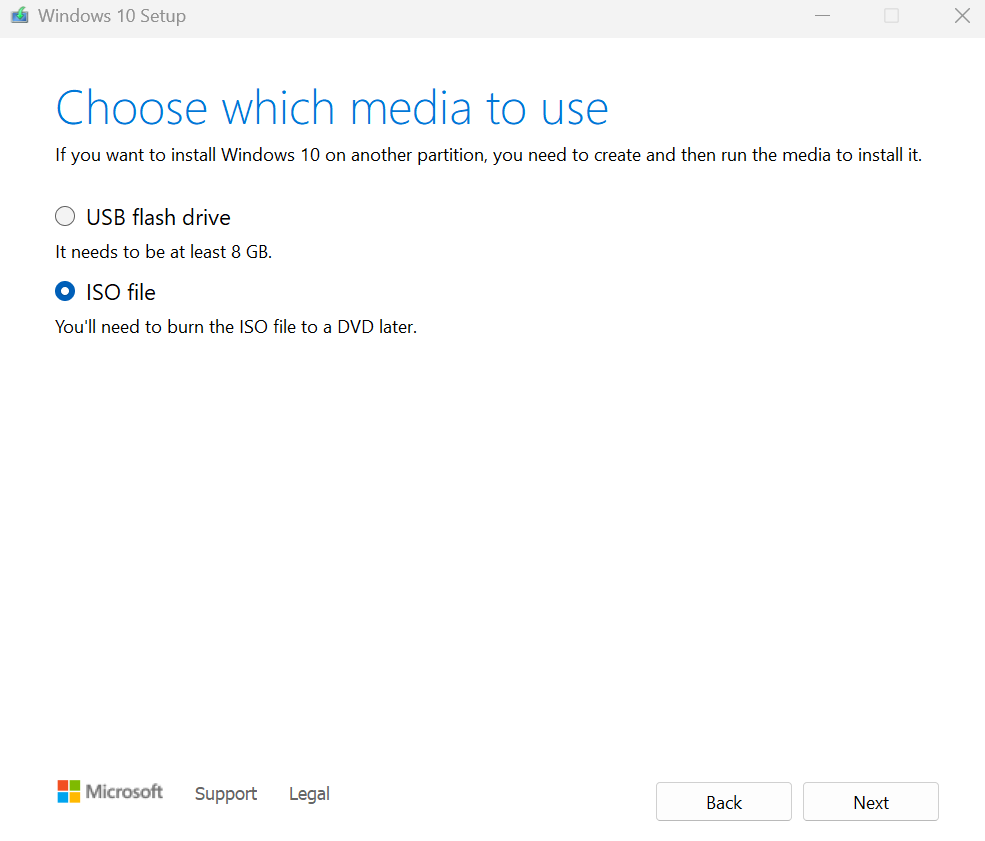
Follow the installation and choose to create installation media for another PC and create an ISO file.
Create a new virtual machine in Virtual Box using the windows.iso file. Follow the default setting when not specified. Check the box that says ‘Skip Unattended Installation’.
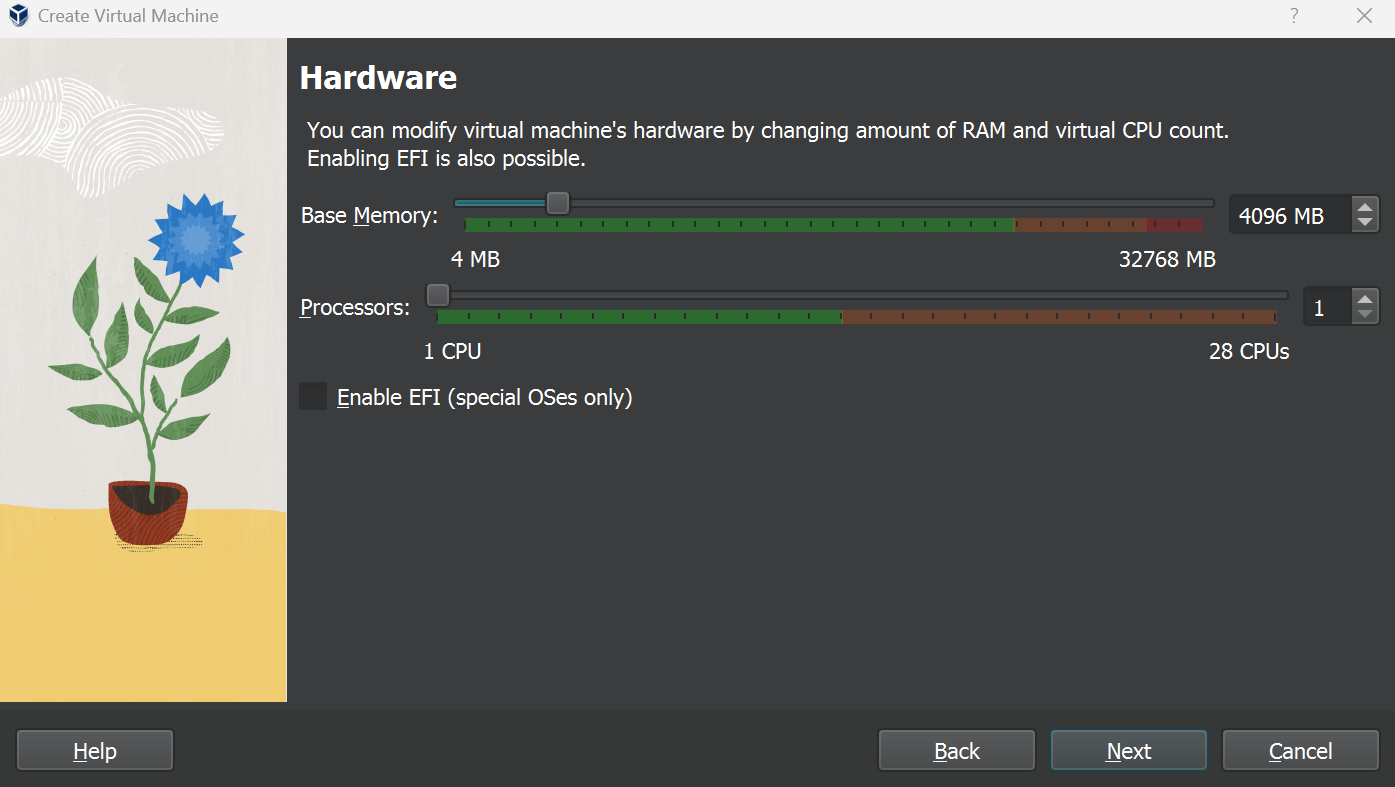
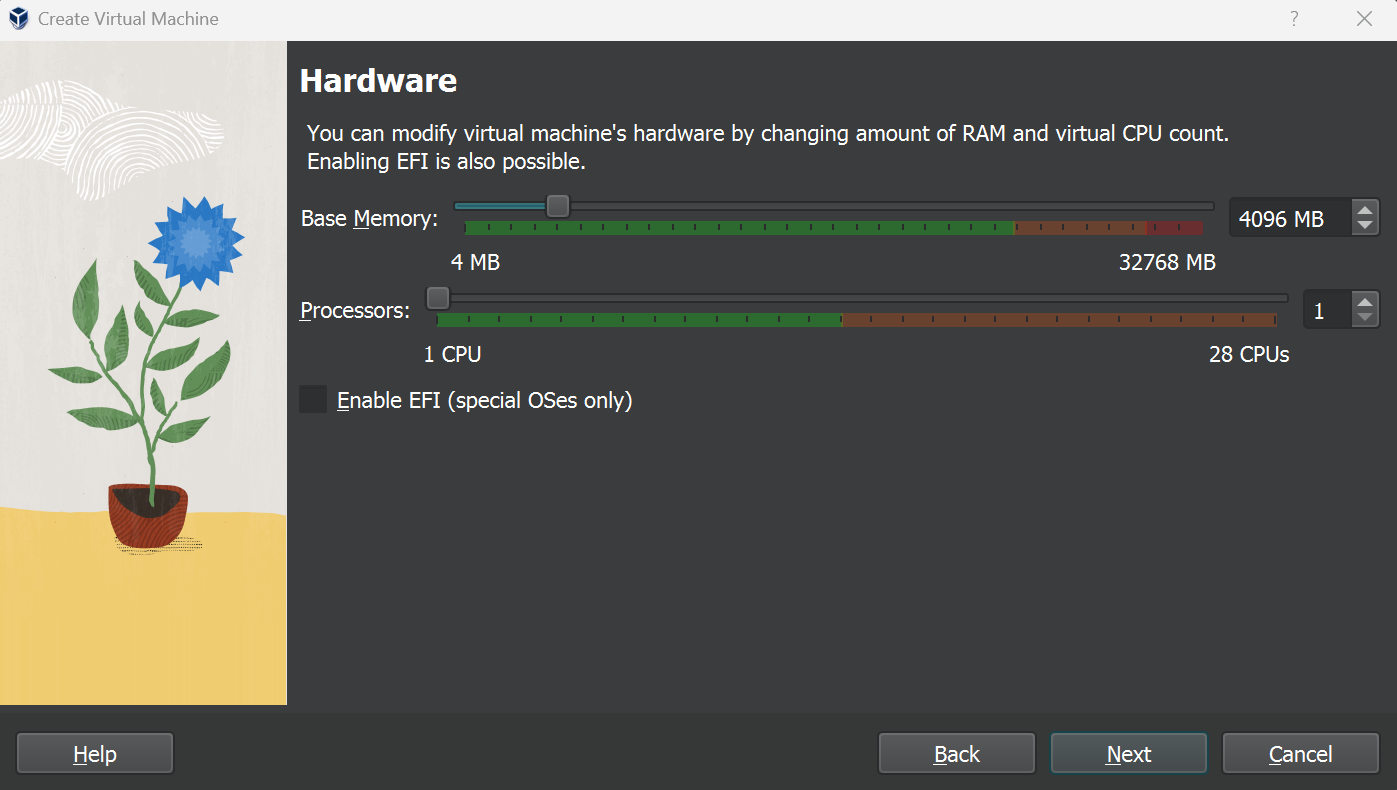
Set memory to 4gb. Finish the setup and launch the vm to continue installation.
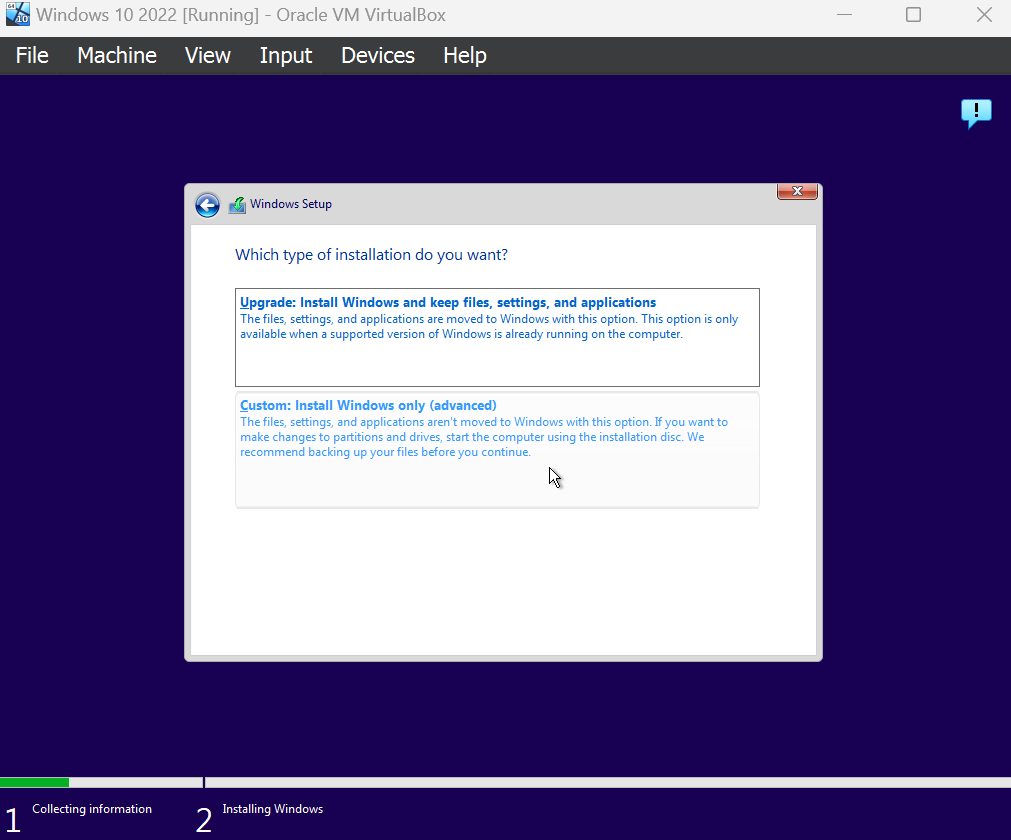
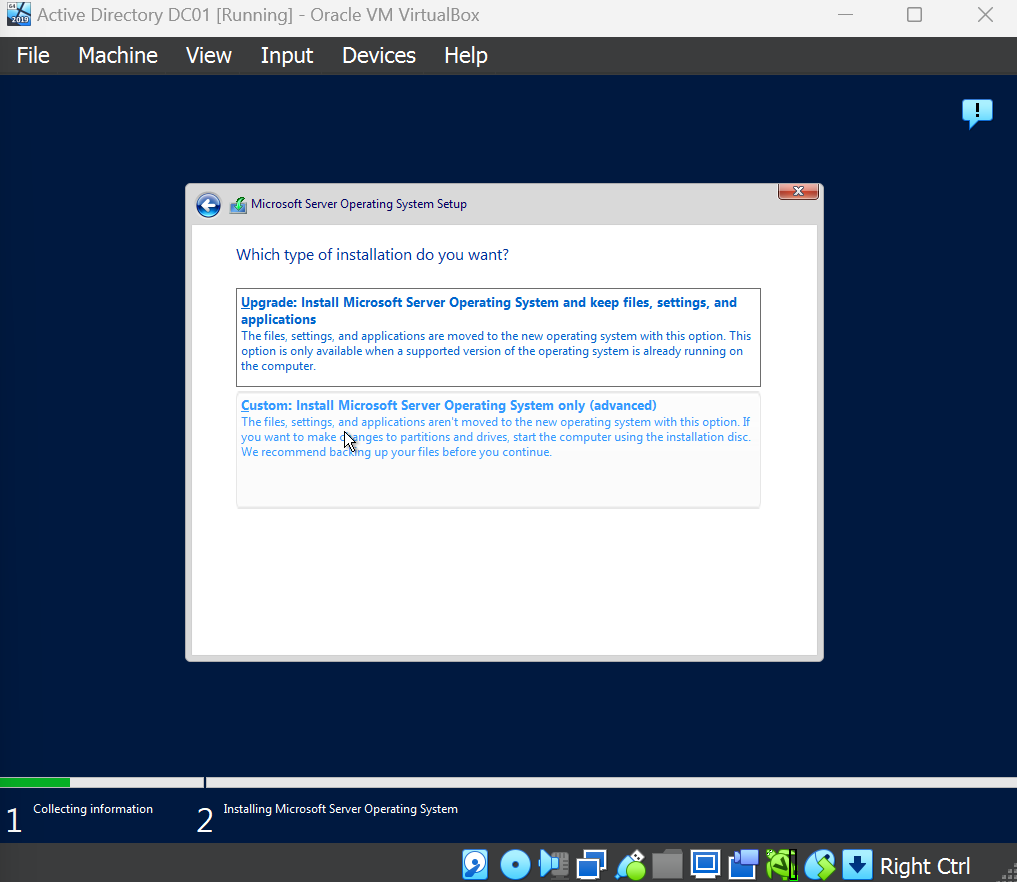
Again, follow with default unless specified otherwise. Choose Custom: Install Windows Only.
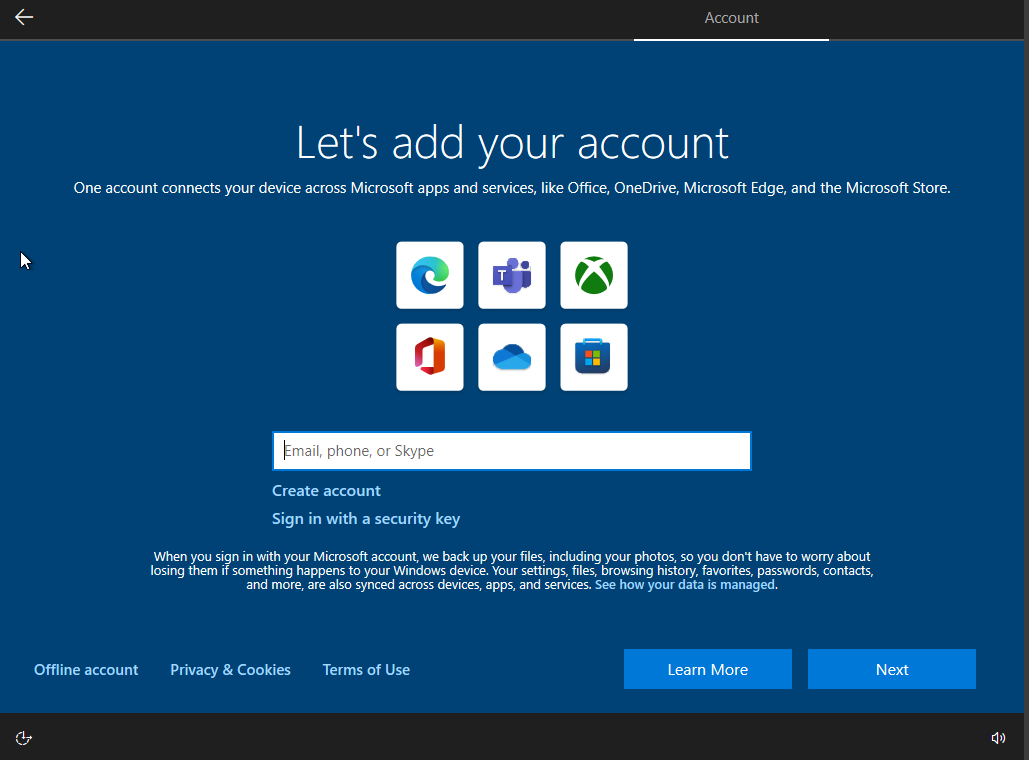
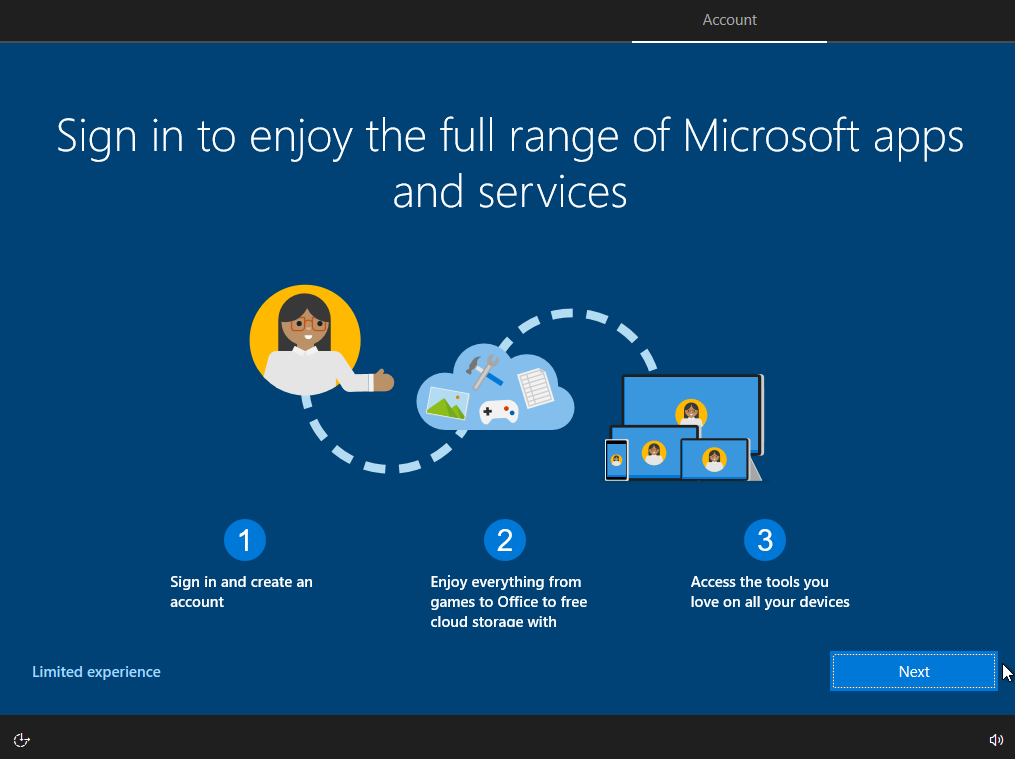
Choose ‘Offline account’ then ‘Limited experience’. Finish installation.
Attacker Kali Linux Machine
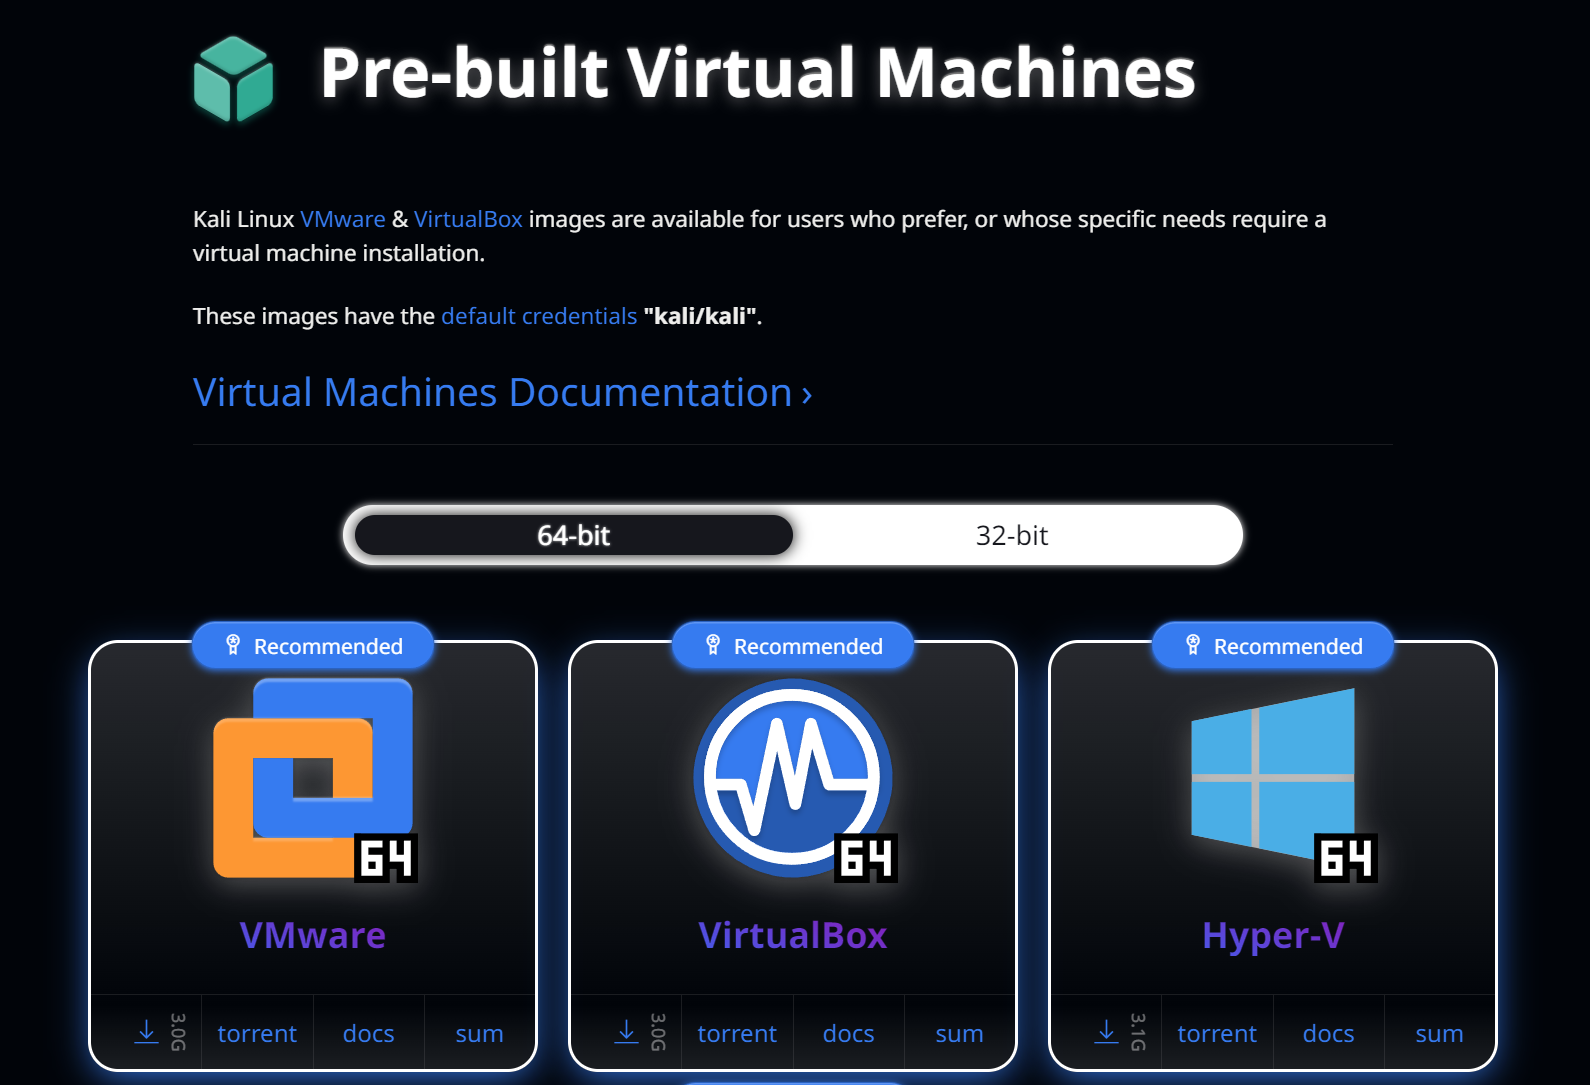
We will use a pre-built machine provided by Kali. This will make is a simpler process then the windows installation.
Go to the website and download pre-built kali machine for VirtualBox. 7-zip will also be needed.
Double click the VirtualBox kali file and it will load into VirtualBox. Username and password will be kali:kali.
Active Directory Windows Server
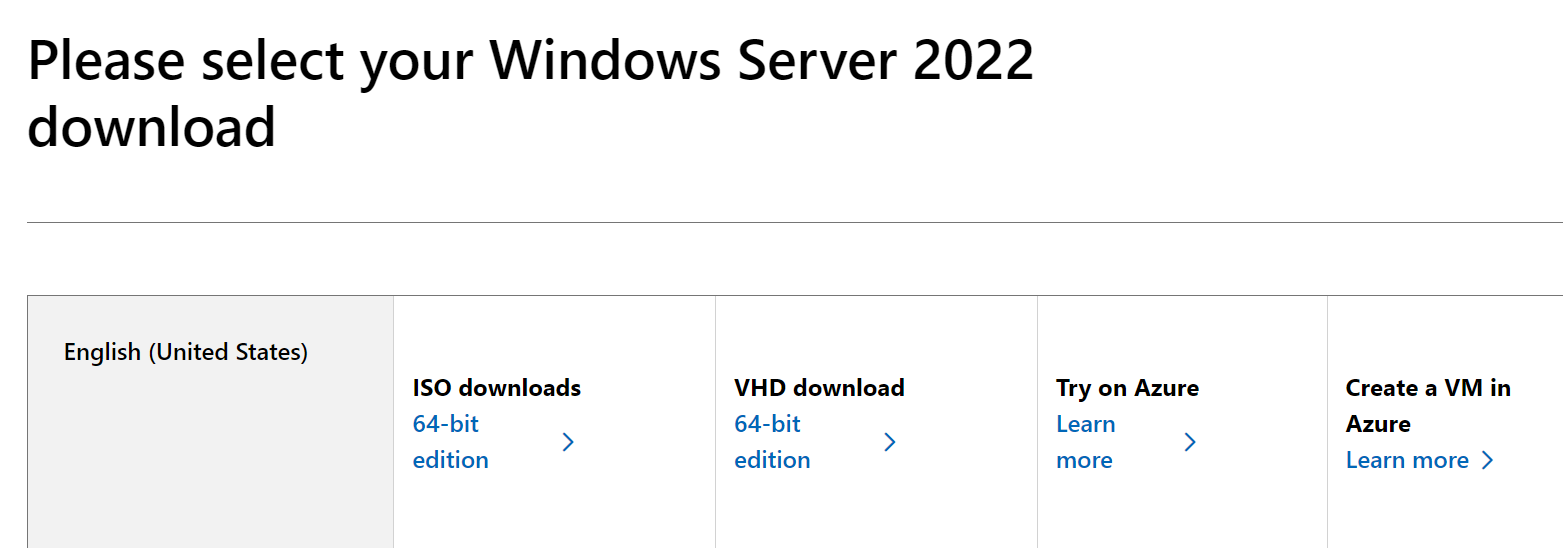
Download the Windows Server 2022 iso.
Fill in the form and download the English iso file.
Once the download is finished. Create a new VM in VirtualBox. Check the box that says ‘Skip Unattended Installation’. Change specs to 4gb.
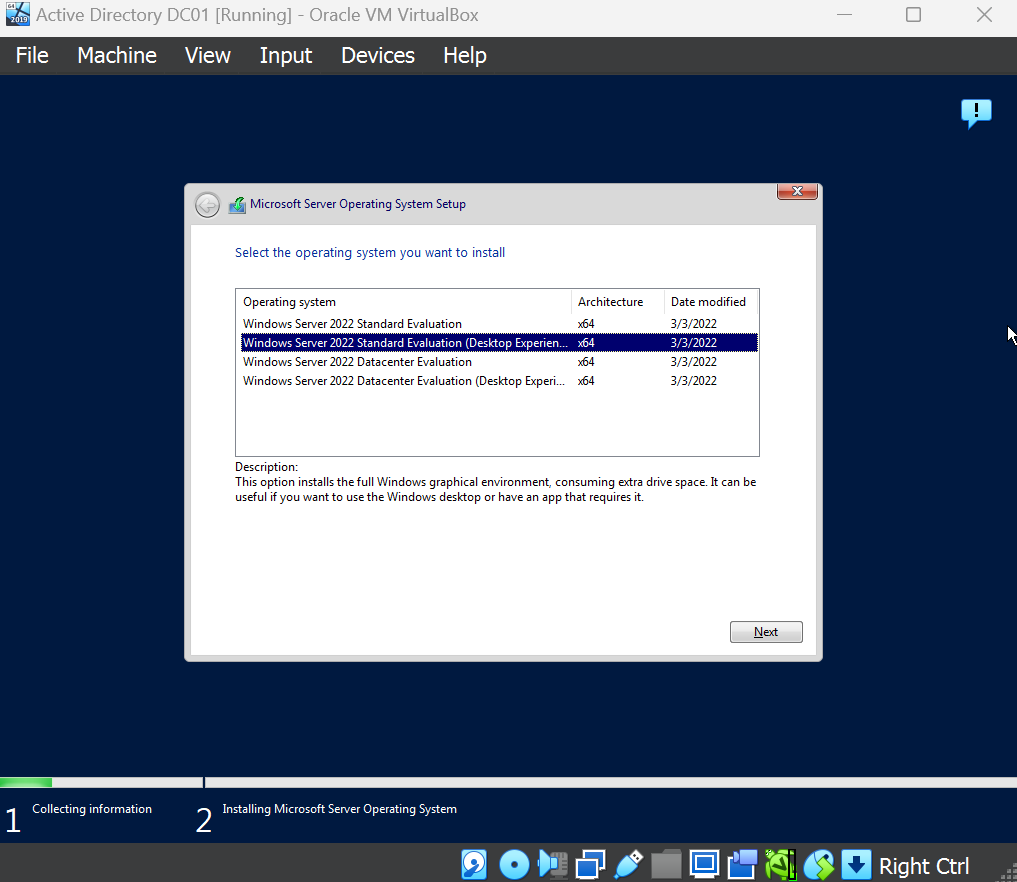
Start the VM and use default unless specified. Change the OS to Standard Desktop Experience.
Choose Custom. Finish Installation.
Splunk Ubuntu Server
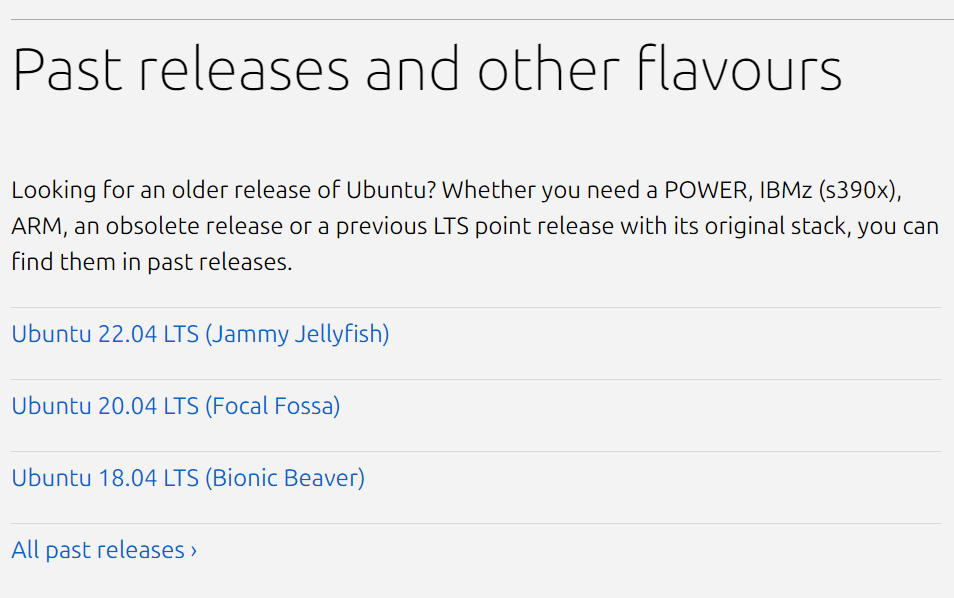
Download Ubuntu Sever. I will be using Jammy Jellyfish.
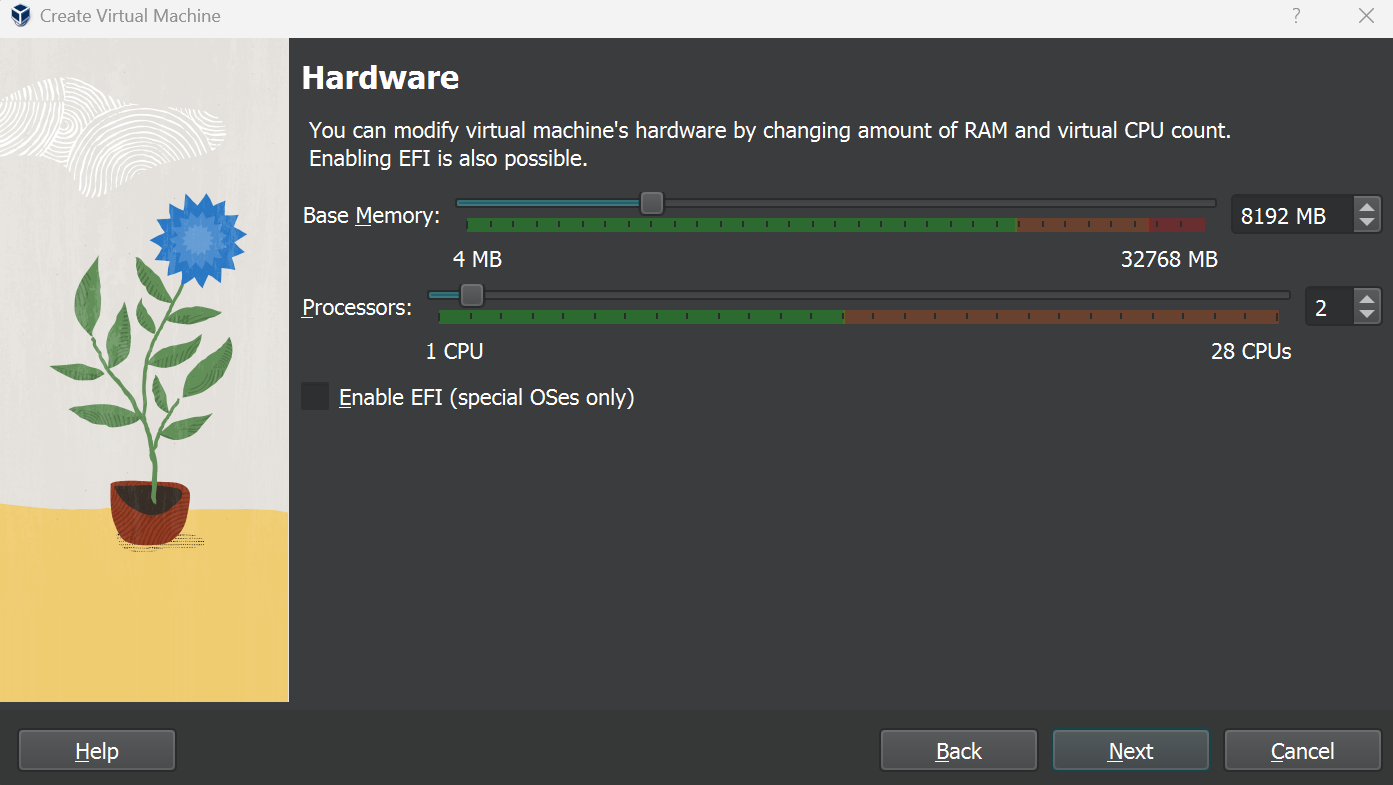
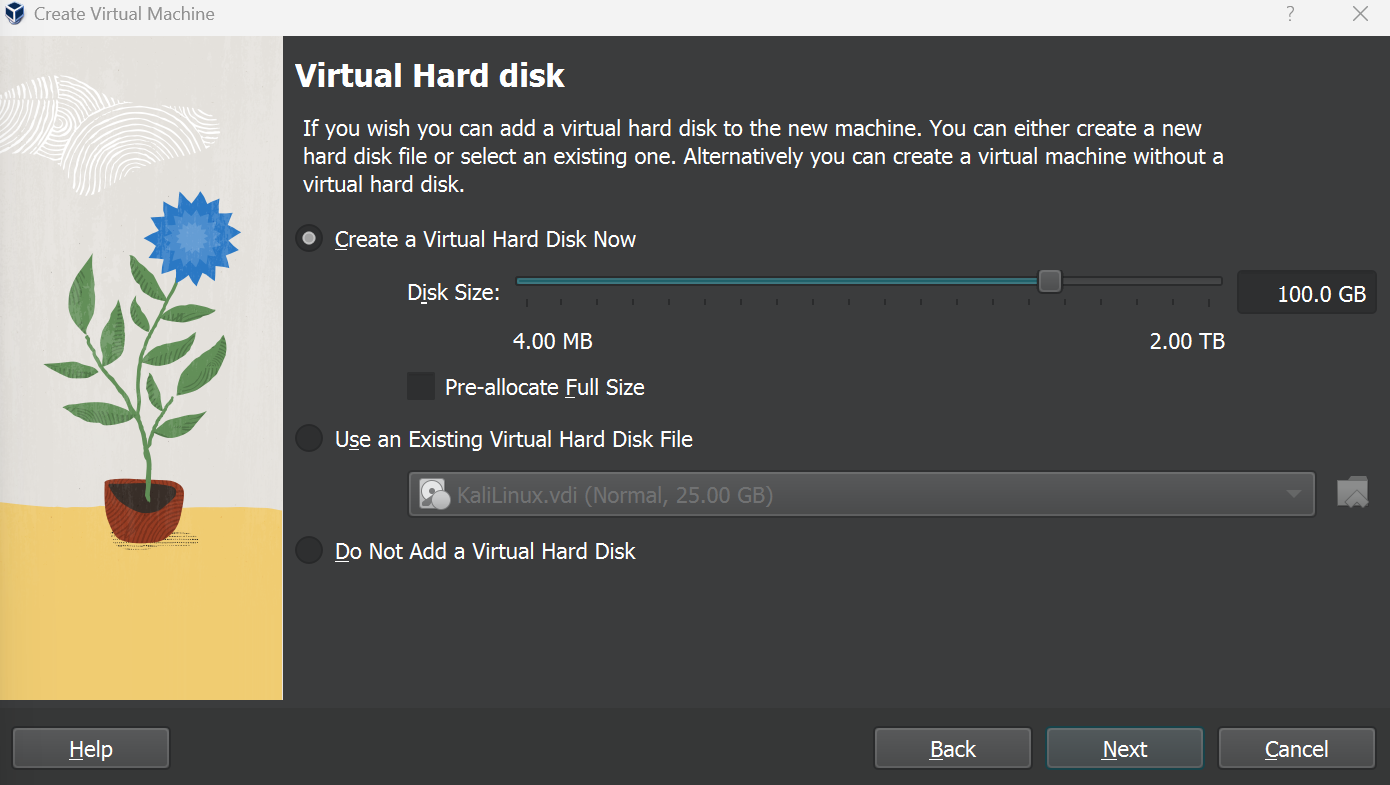
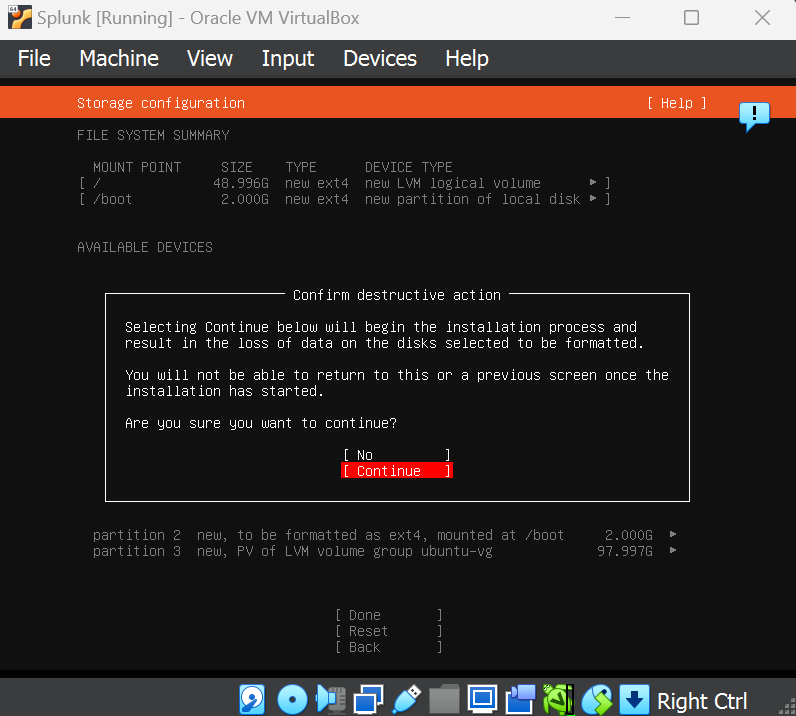
Load it on to VirtualBox and Change the specs to 8gb of ram and 2 cores. 100gb of storage.
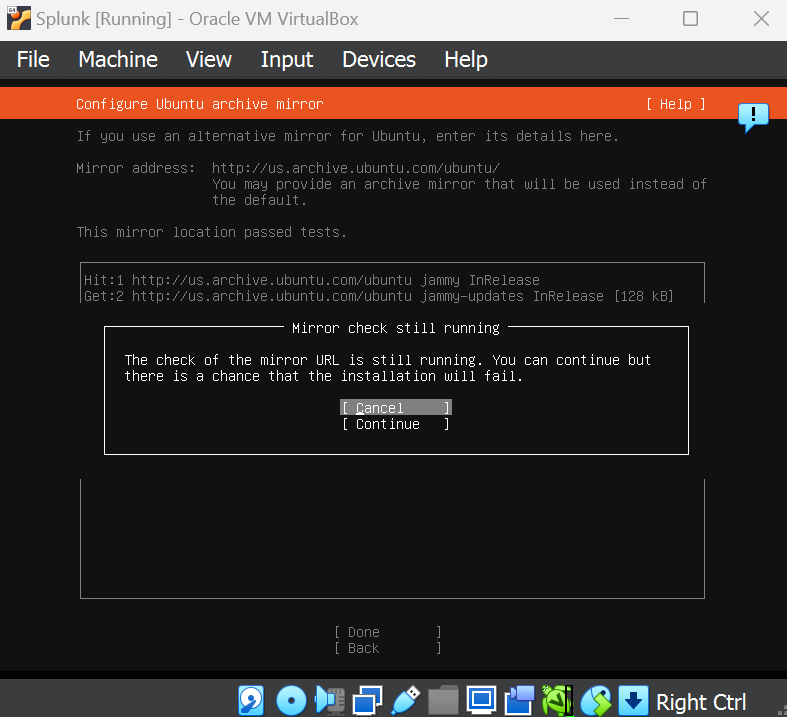
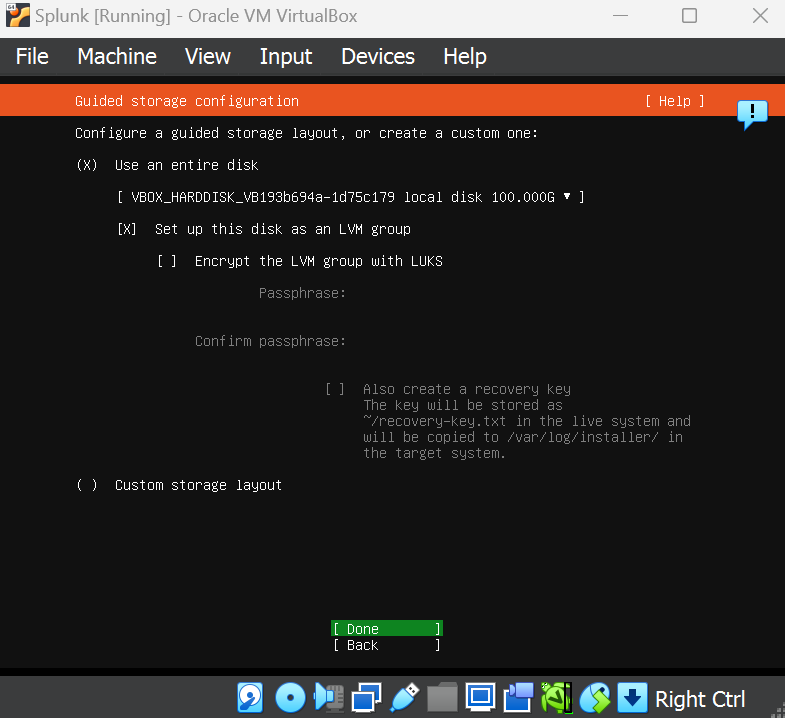
Start the VM and use the default setting if not specified. Continue.
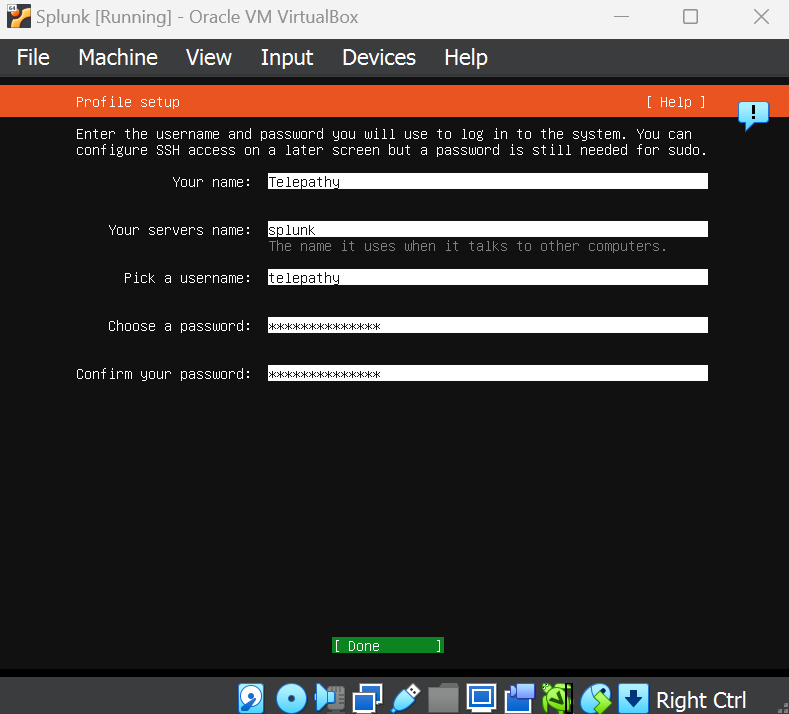
Create user and credentials.
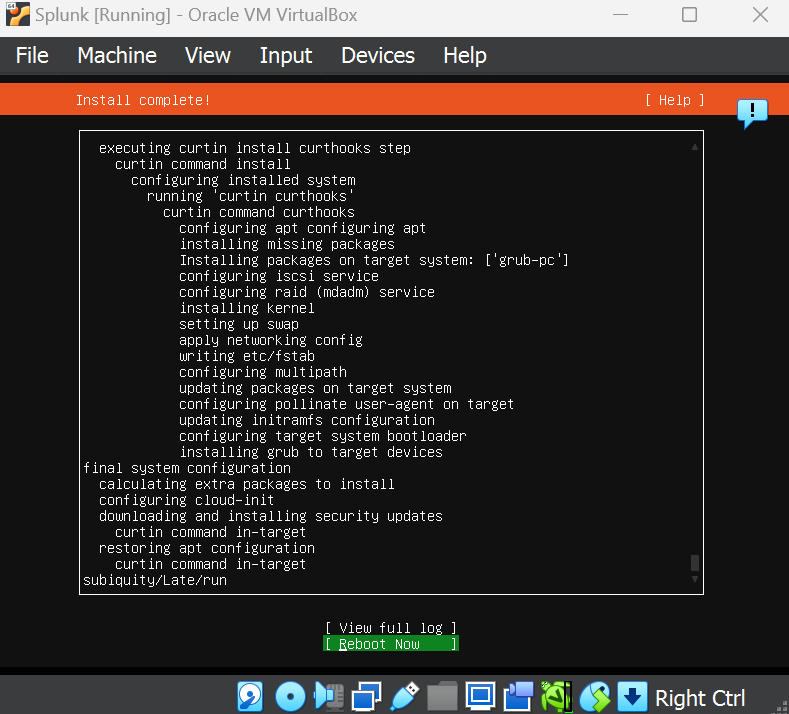
Wait till is says ‘Reboot Now’ then press enter. And enter to reboot the system.
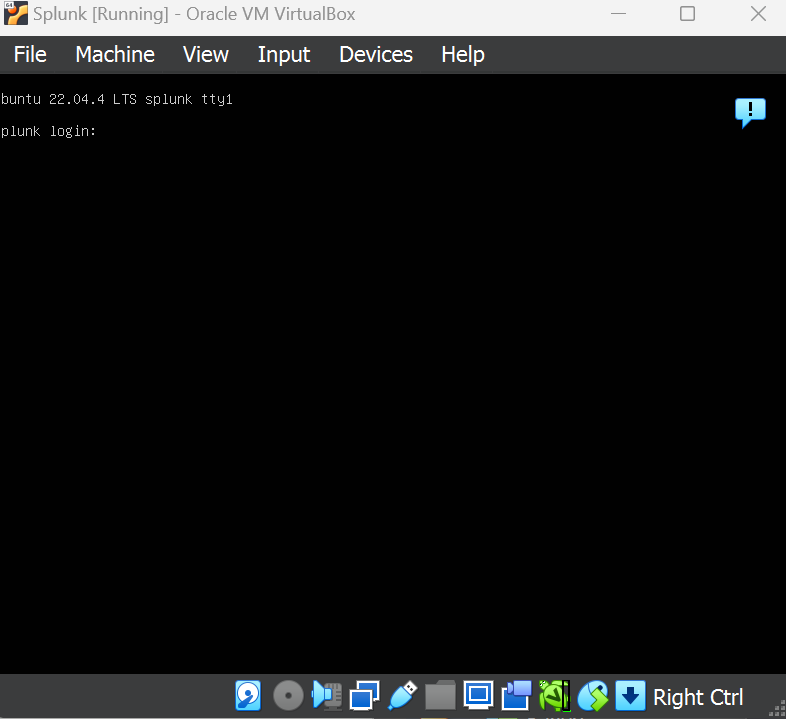
Login to the system and update it.
1
sudo apt-get update && sudo apt-get update -y
Configuring NAT Network
Create a NAT Network in VirtualBox so that all the machine we just created can speak to each other.
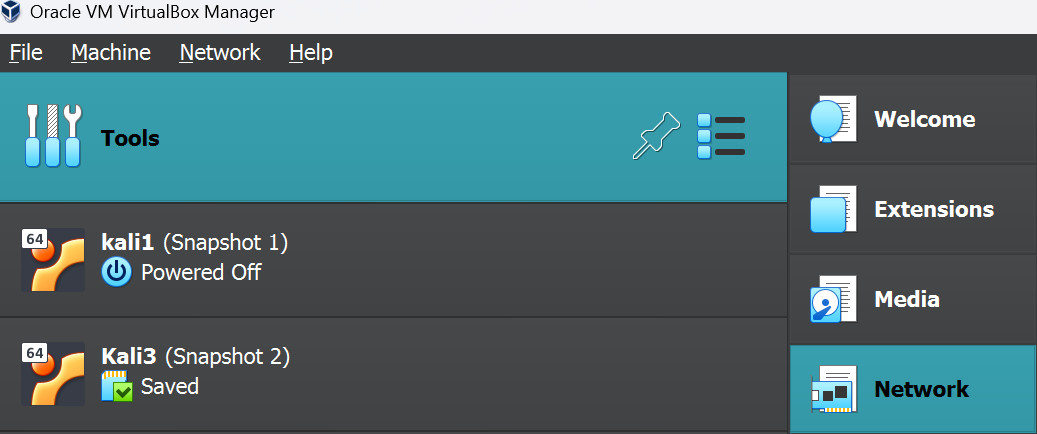
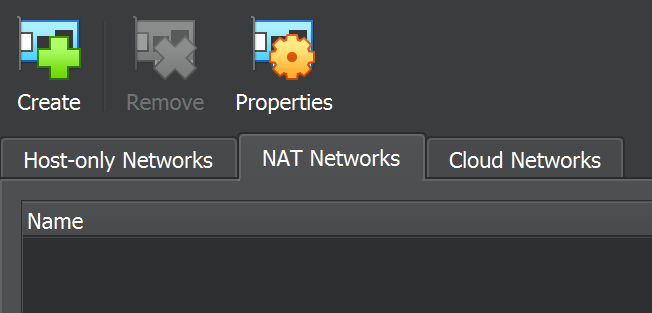
In VirtualBox we have to configure a NAT. Open the Network settings.
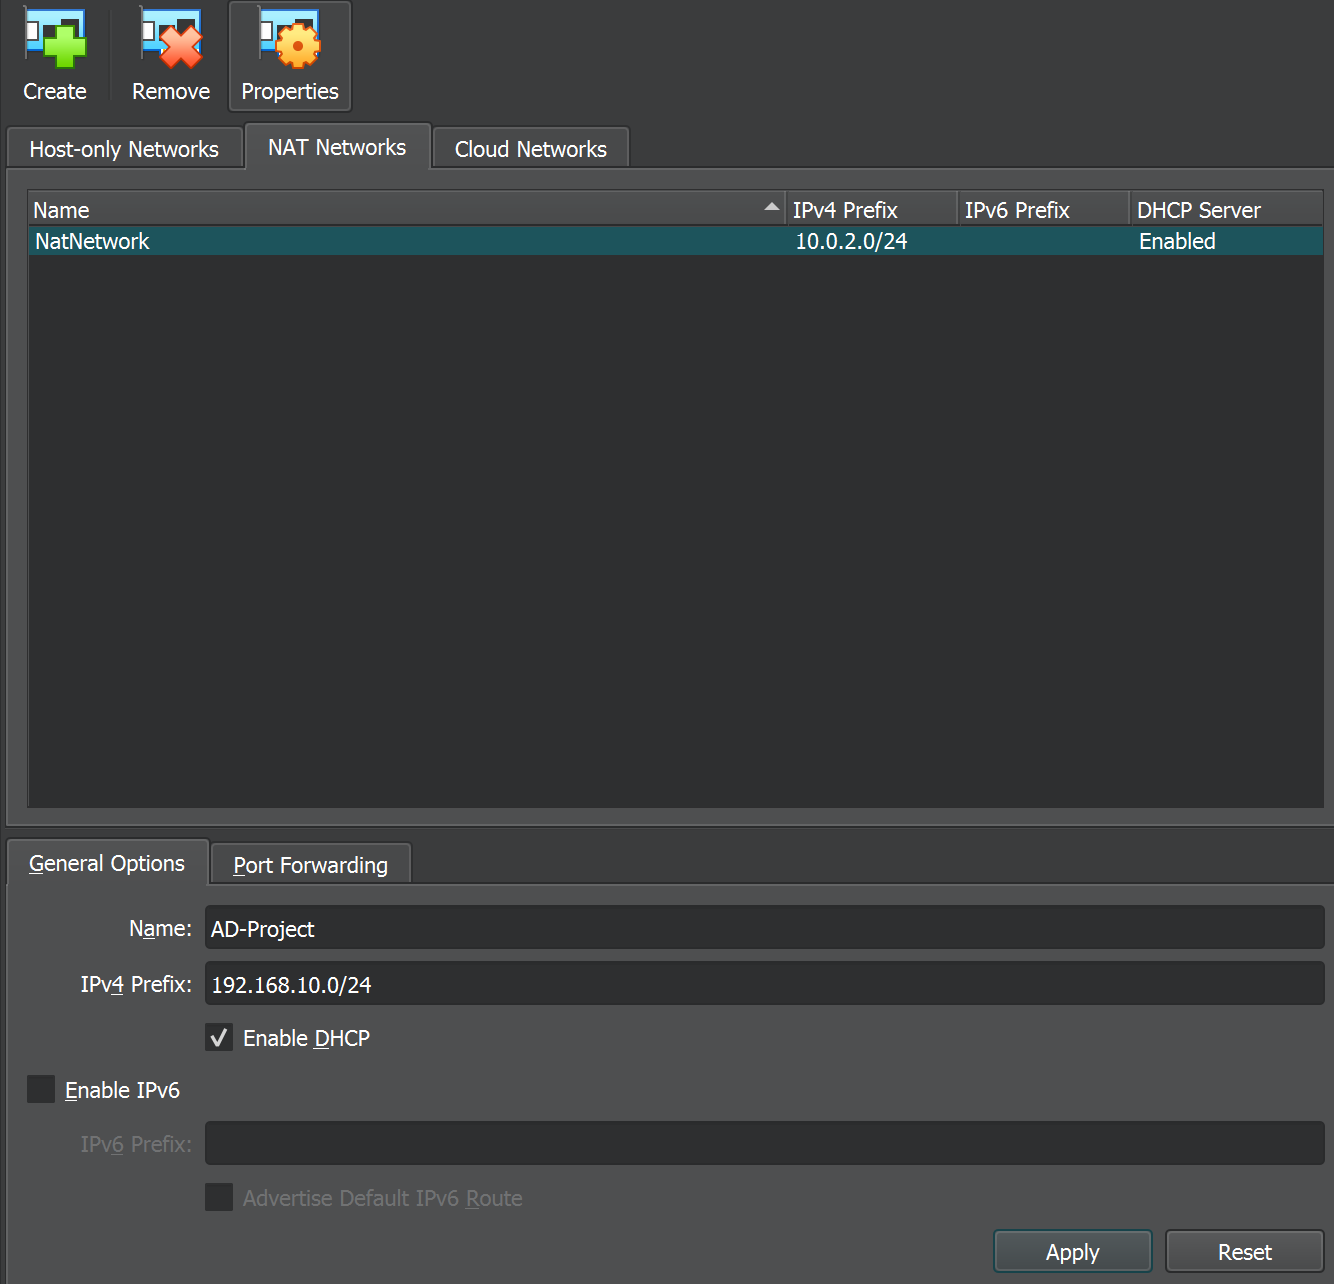
Select NAT Network and create a NAT. Name it ‘AD-Project’ with IPv4 Prefex ‘192.168.10.0/24’ then apply.
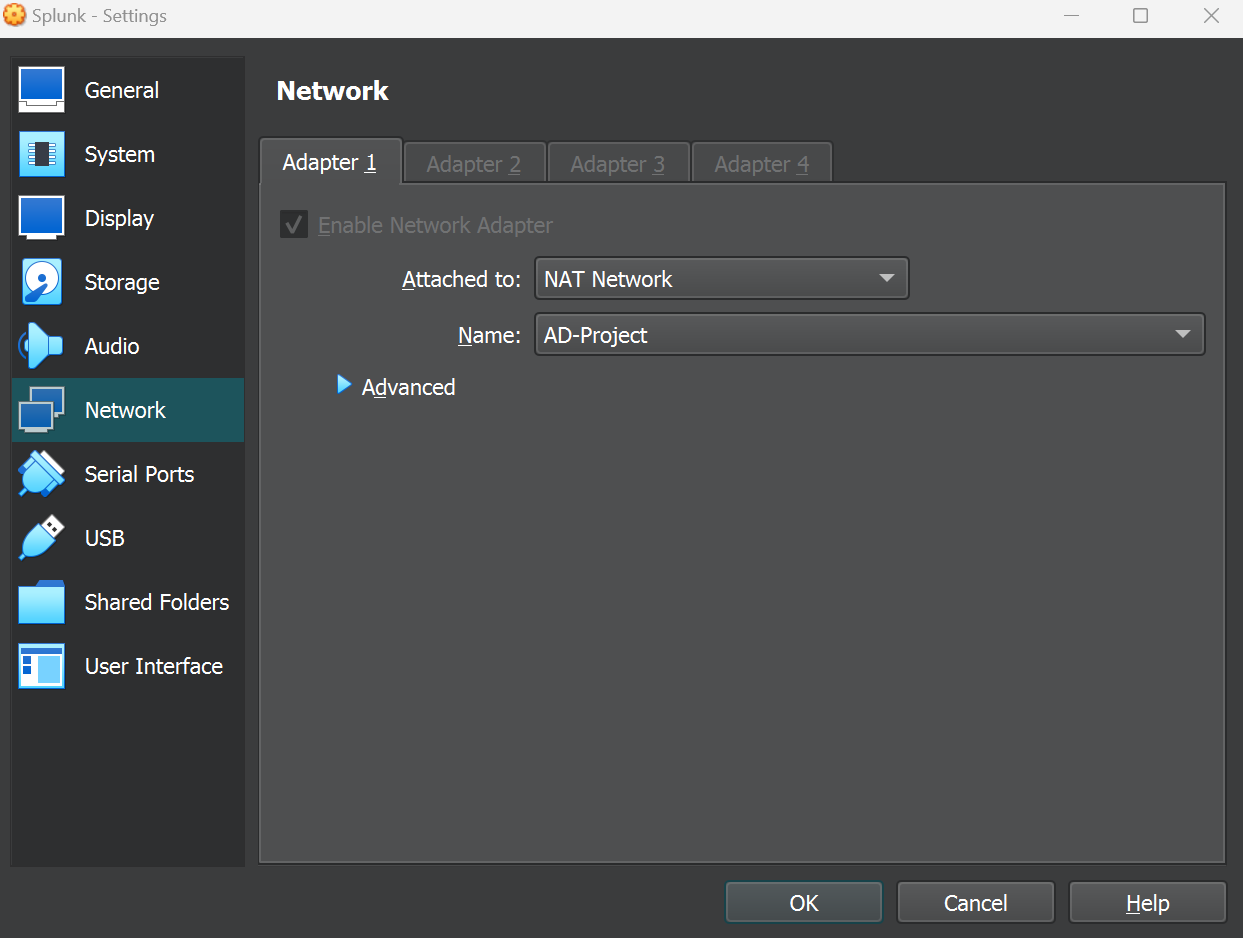
Go to each VM and open their individual network settings. Change it to ‘NAT Network’ and ‘AD-Project’.
Now it’s time to configure each individual machine’s ip address:
Windows 10 Client
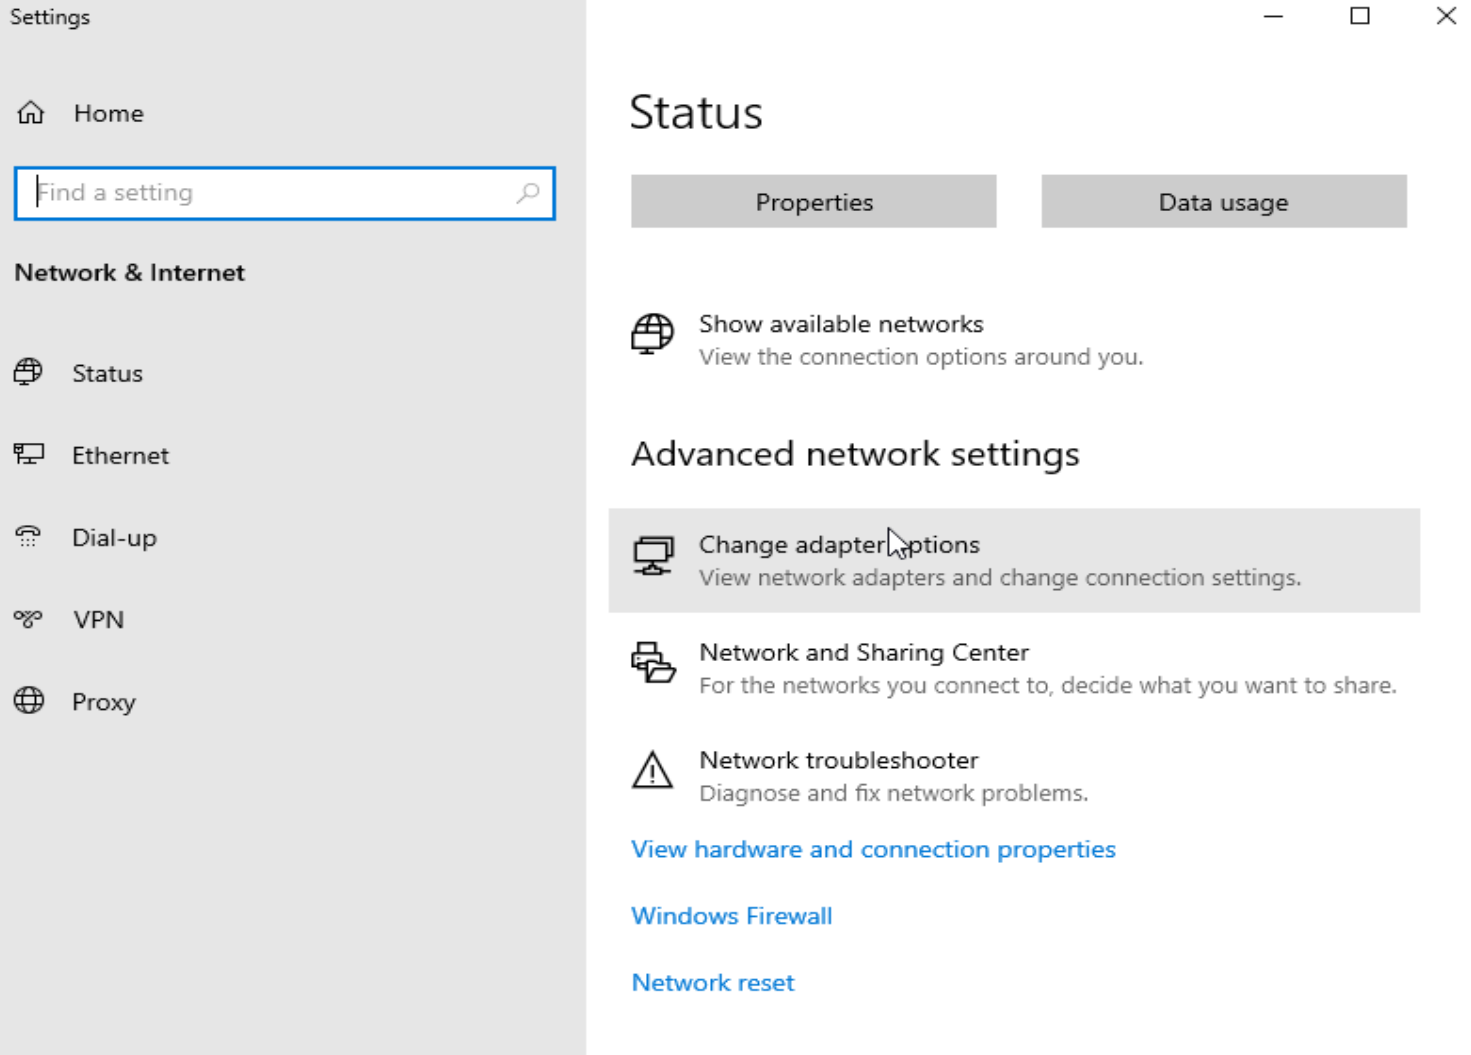
Right-click the network icon on the bottom left and open the network settings.
Click ‘Change adapter options’.
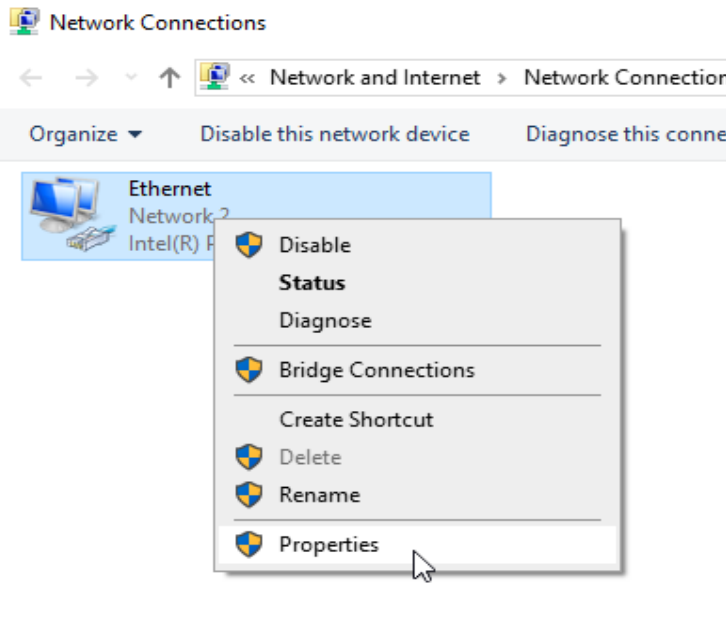
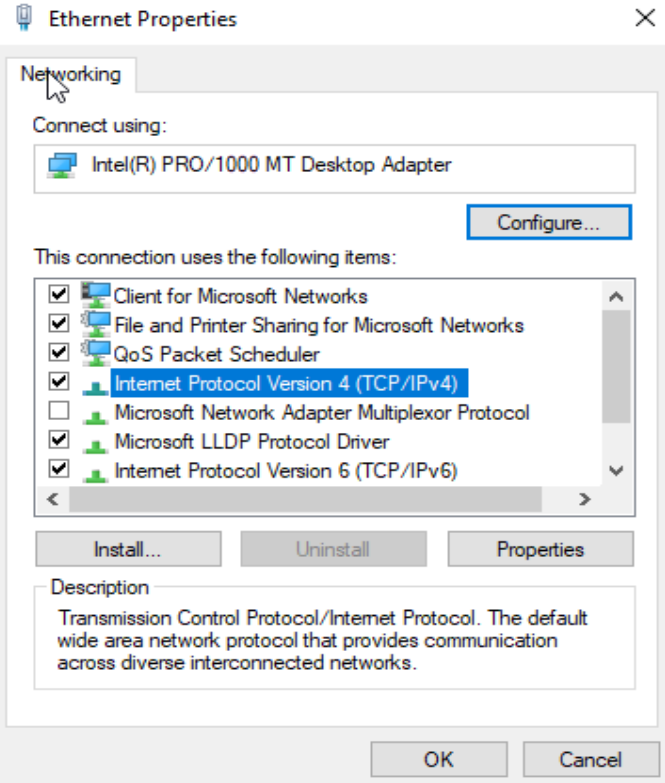
Right-click ‘Ethernet’ and choose ‘Properties’. Click ‘TCP/IPv4’ then ‘Properties again’.
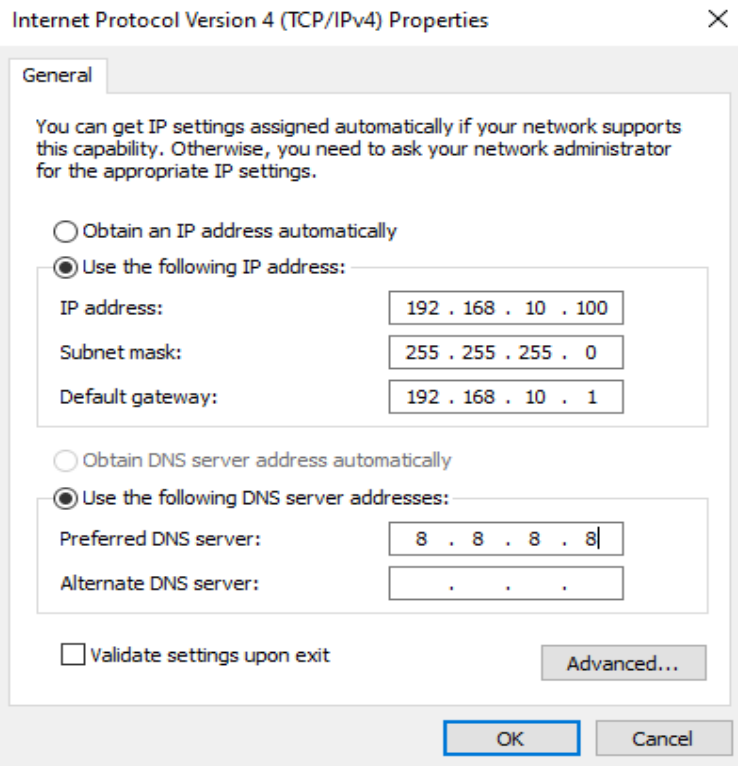
Change the IP address to 192.168.10.100. Change the subnet mask, gateway, and DNS respectively.
Attacker Kali Linux Machine
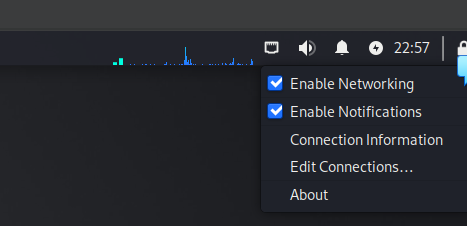
Right-click the network icon on the upper right and choose ‘Edit Connections’.
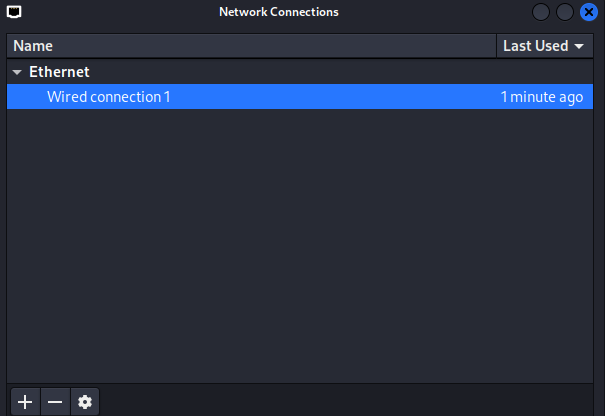
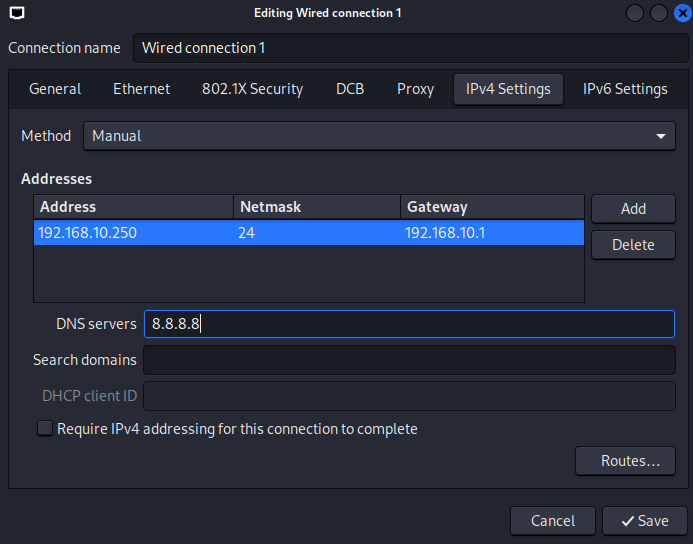
Double-click ‘Wired connection 1’. Choose the ‘IPv4 Settings’ and change the IP to 192.168.10.250. Save changes.
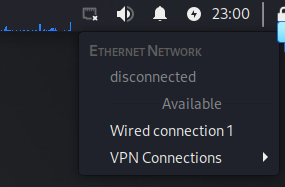
Right-click the network icon again. Disconnect and reconnect to ‘Wired Connection 1’.
We can now access the network.
Active Directory Windows Server
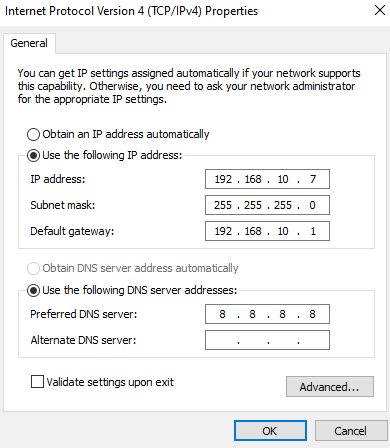
Follow the same steps as the Windows Client.
Change the IP address to 192.168.10.7. Change the subnet mask, gateway, and DNS respectively.
Splunk Ubuntu Server
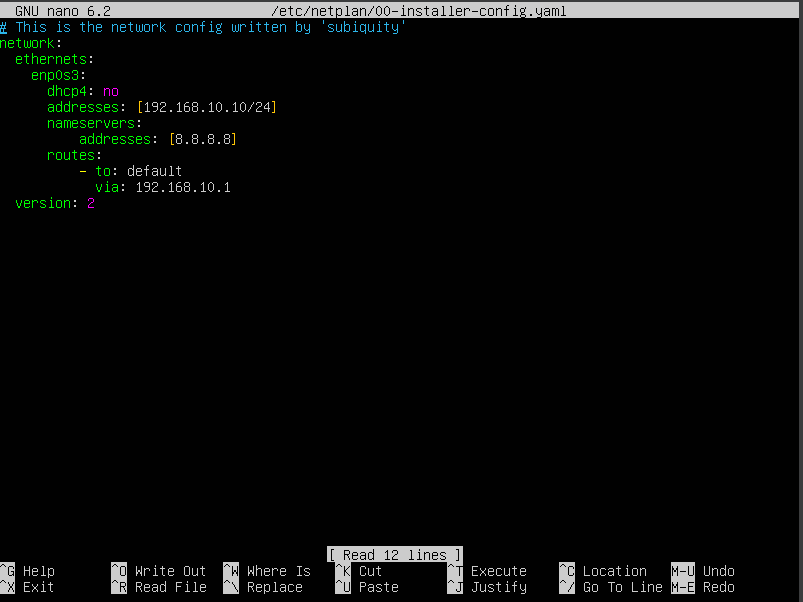
Edit the config file to add an IP address.
1
sudo nano /etc/netplan/00-installer-config.yaml
Add the IP address that we want and save the file.
Apply the changes.
1
sudo netplan apply
The network is now set up.


