ATTACKING ACTIVE DIRECTORY | INSTALLING AND CONFIGURING SPLUNK AND SYSMON
Objective
Splunk is a well-known and popular SIEM tool. In this scenario, I will be installing it on the Splunk Ubuntu Server on 192.168.10.10.
In order for it to gather information from the other 2 computers on the network, I will install both Splunk Universal Forwarder and Sysmon to both the AD server and the Windows Client. In the end, we should a working instance of Splunk that is pulling data from both computers.
Implementation
Download Splunk
Sign up and download Splunk.
Once logged in, go to ‘Products’ tab and choose ‘Free trials & Downloads’.
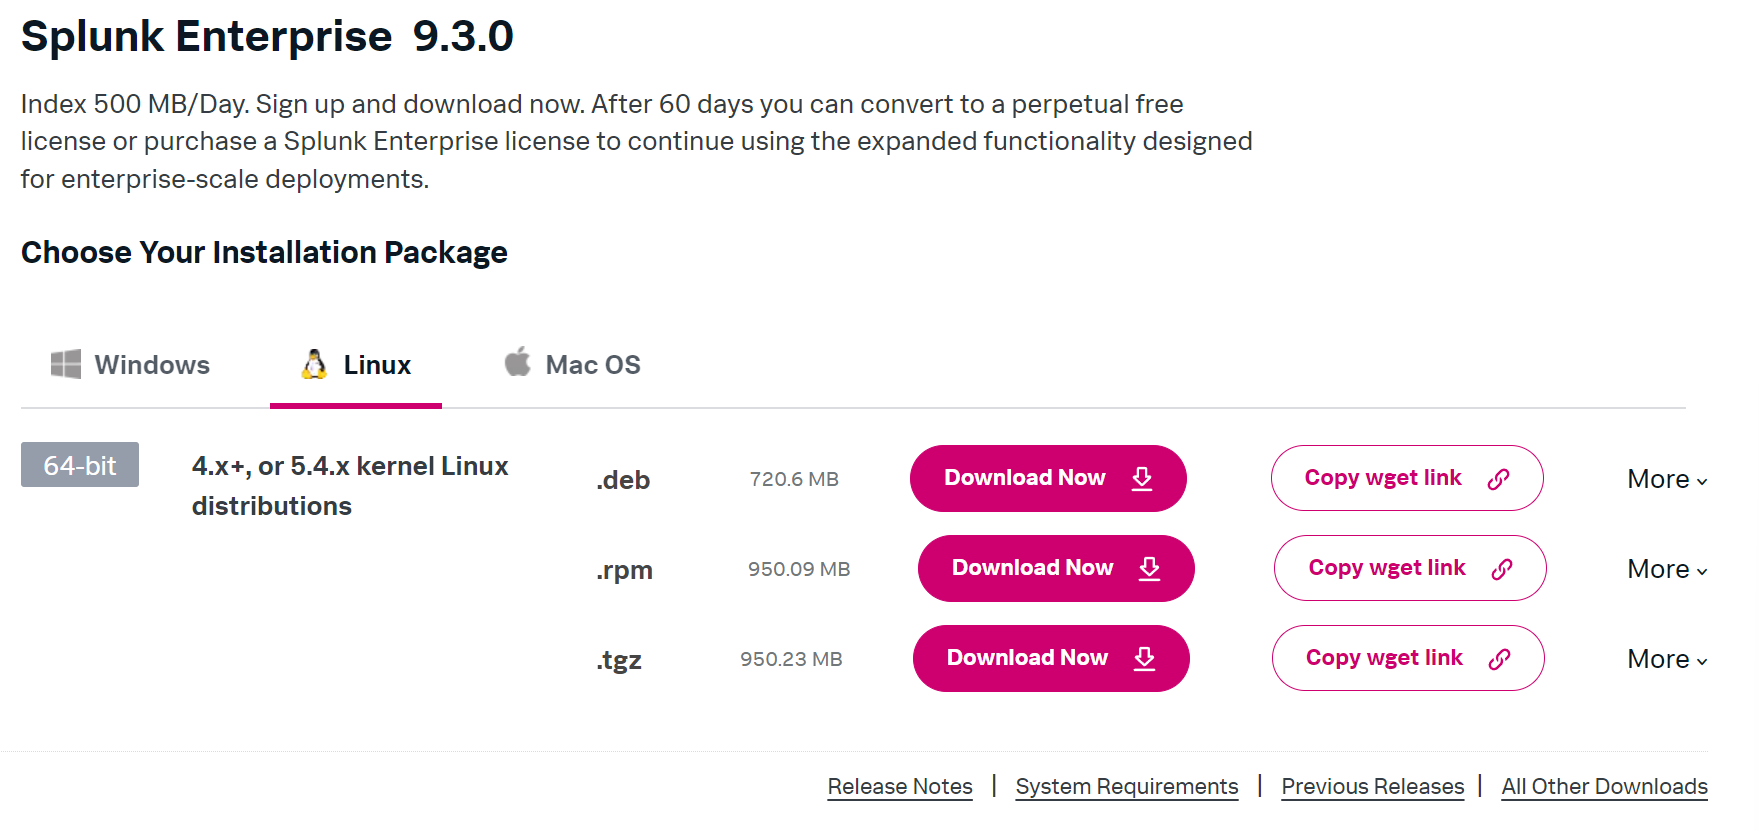
Go to the Linux tab and download the .deb file to the host machine.
Put Splunk on Ubuntu VM
Login to the Ubuntu VM created earlier install virtualbox plugins
1
sudo apt-get install virtualbox-guest-additions-iso
Say yes to prompts.
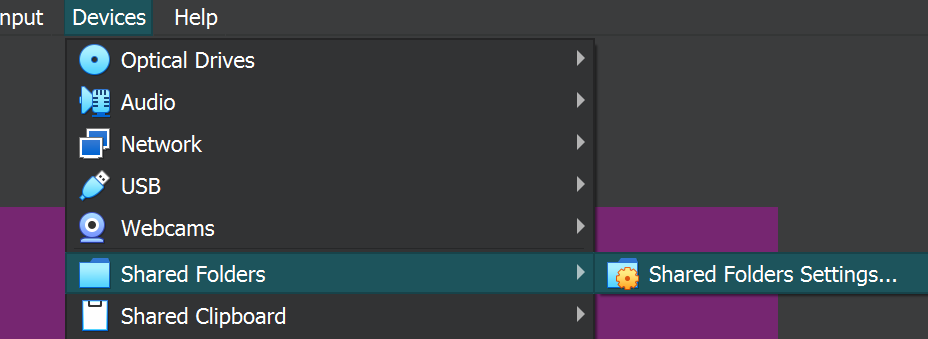
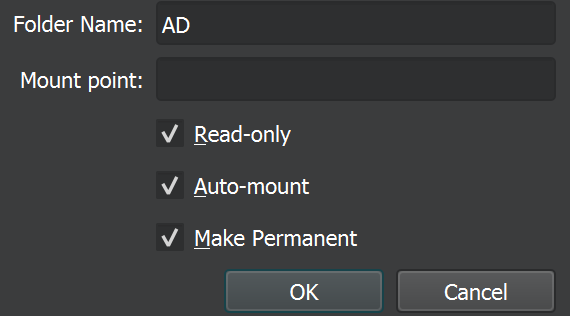
Once it is finished. Go to the ‘Devices’ tab on the VM and go to ‘Shared Folder Settings…’ Select the folder that Splunk is in and check the 3 boxes.
Reboot the VM to apply the changes.
1
sudo reboot
Add guests utils.
1
sudo apt-get install virtualbox-guest-utils
Add user to the vboxsf group.
1
sudo adduser telepathy vboxsf
 Make a directory called ‘share’.
1
mkdir share
Mount the share.
1
sudo mount -t vboxsf -o uid=1000,gid=1000 AD share/
 Move into the directory and install Splunk
1
sudo dpkg -i splunk...amd64.deb
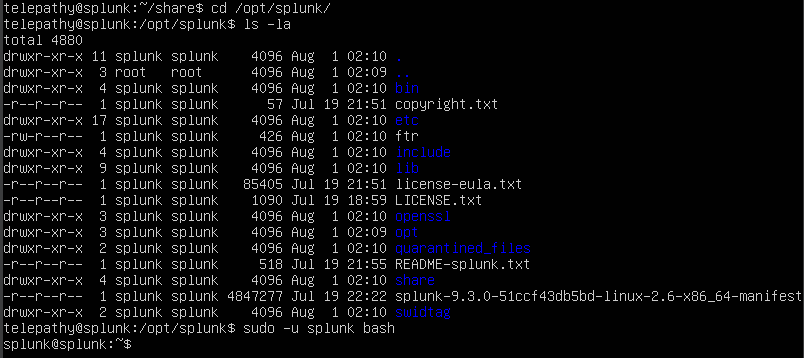
Move to the /opt/splunk directory and change users to splunk.
1
cd /opt/splunk
1
sudo -u splunk bash
Move into the ~/bin directory and run Splunk
1
cd bin
1
./splunk start
 Scroll down. Accept the license and create Splunk credentials.
Set Splunk to run on bootup as user ‘splunk’.
1
exit
1
cd bin
1
sudo ./splunk enable boot-start -user splunk
Splunk Universal Forwarder & Sysmon
On the target machine, go to Splunk on the browser.
192.168.10.10:8000
Download Splunk Universal Forwarder off Splunk website.
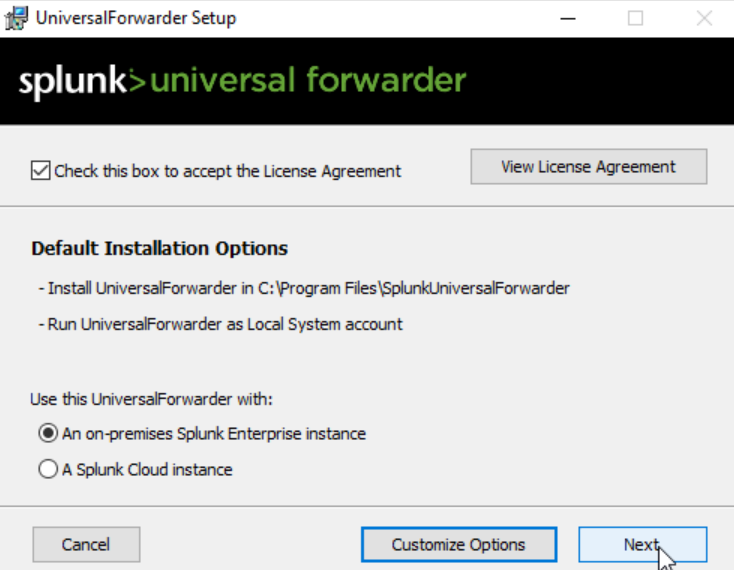
Navigate to the downloaded file and double click. Check the box and go next.
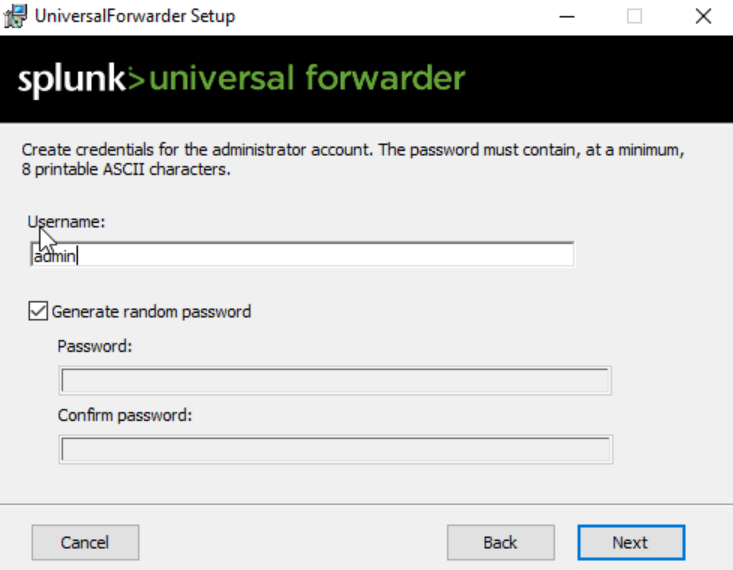
Name username ‘admin’.
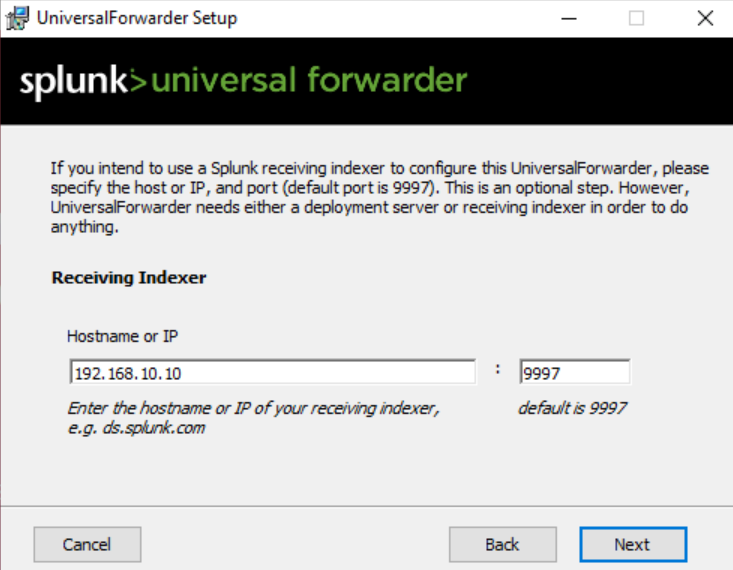
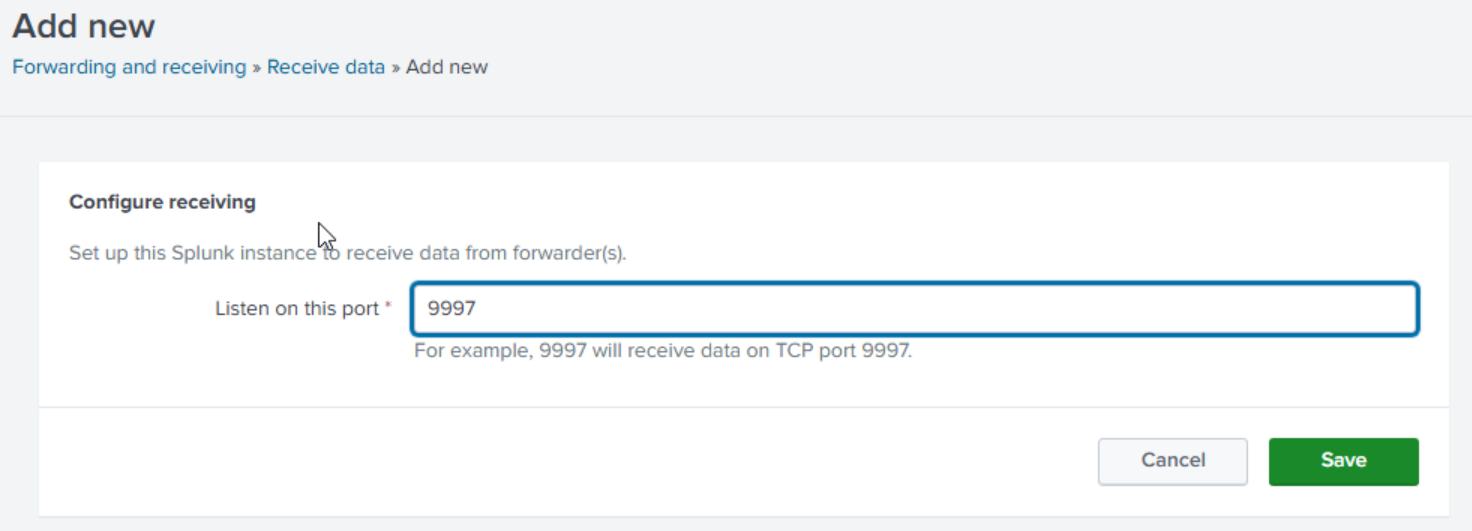
Type the IP and default port for splunk receiver 9997. Then install.
Download sysmon.
Extract it to the folder.
Download the raw config file.
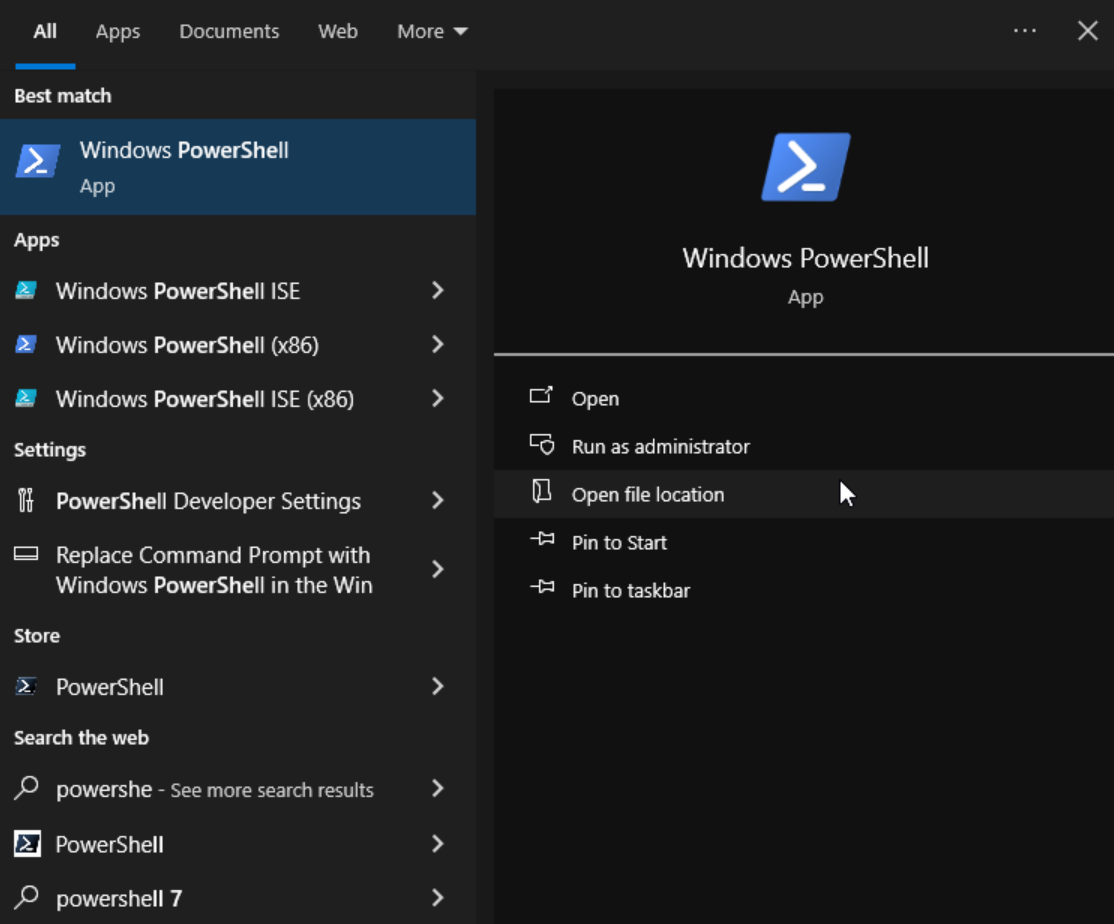
Open a PowerShell terminal with ‘Run as administrator’.
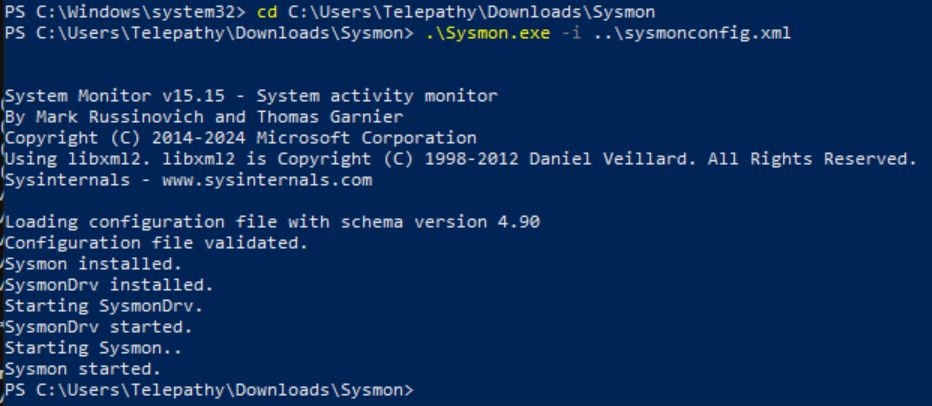
Move into the sysmon directory and run it with the config file.
1
cd C:\Users\Telepathy\Downloads\Sysmon
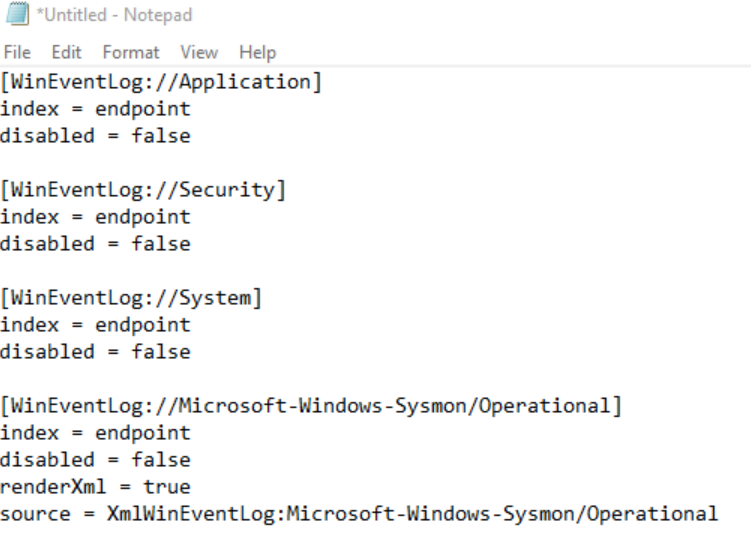
Run notepad as administrator. Create the config file.
1
2
3
4
5
6
7
8
9
10
11
12
13
14
15
16
17
[WinEventLog://Application]
index = endpoint
disabled = false

[WinEventLog://Security]
index = endpoint
disabled = false

[WinEventLog://System]
index = endpoint
disabled = false

[WinEventLog://Microsoft-Windows-Sysmon/Operational]
index = endpoint
disabled = false
renderXml = true
source = XmlWinEventLog:Microsoft-Windows-Sysmon/Operational
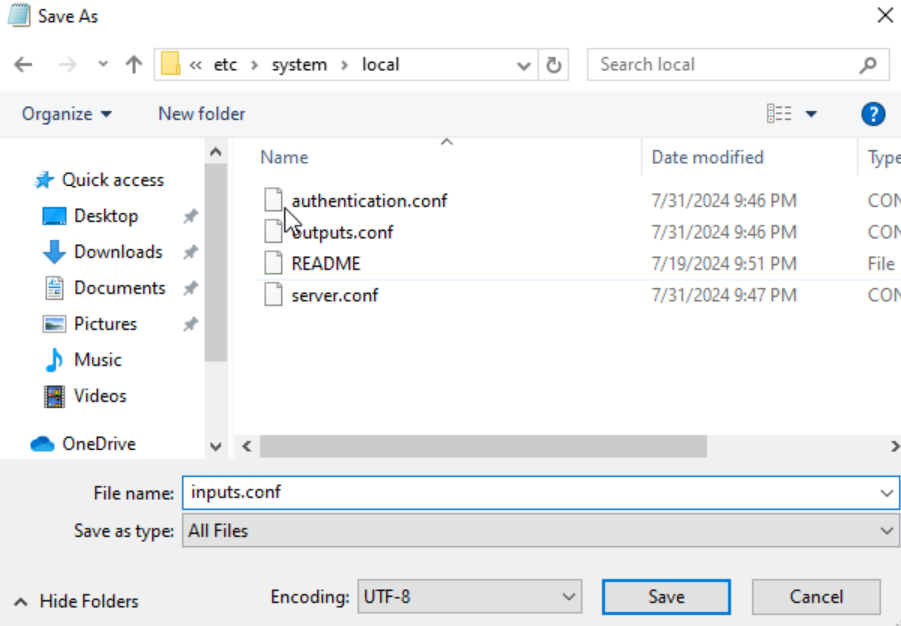
Save it in:
C:\Program Files\SplunkUniversalForwarder\etc\system\local\inputs.conf
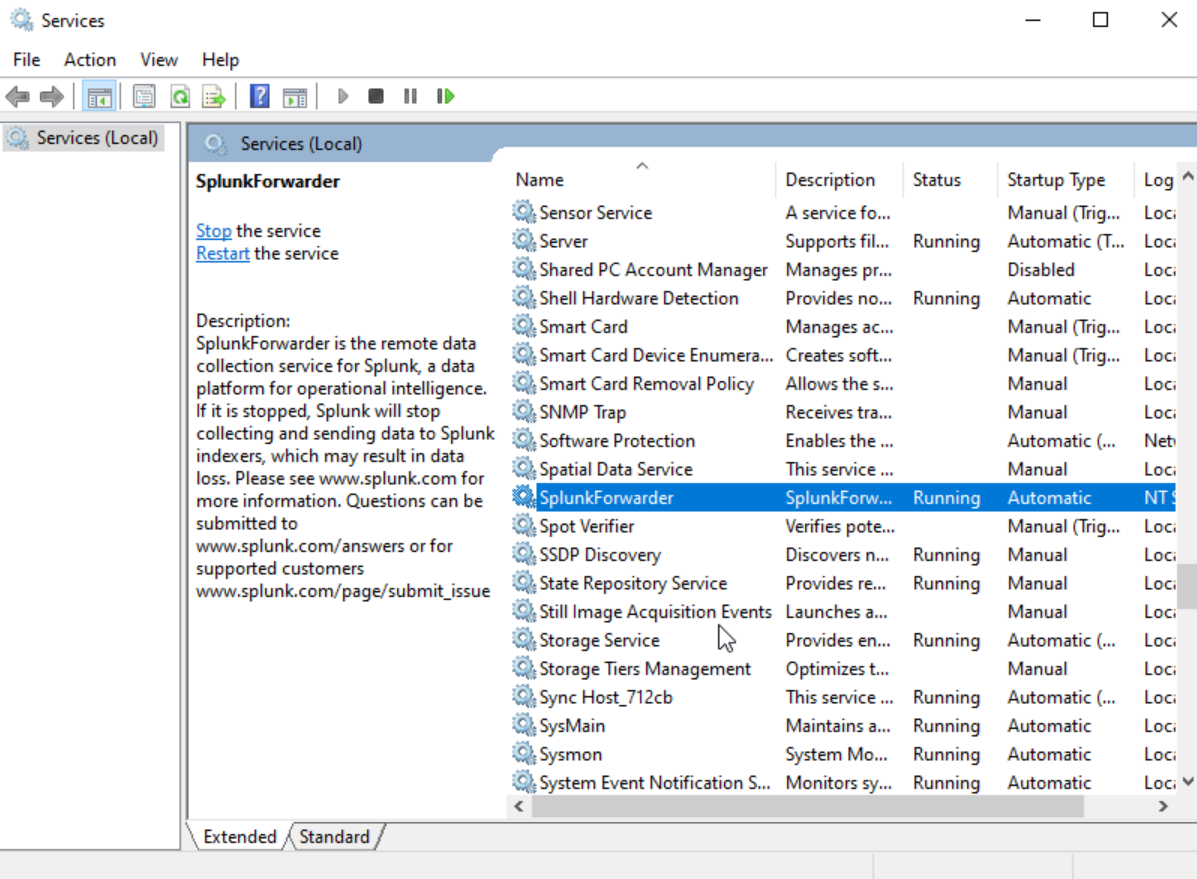
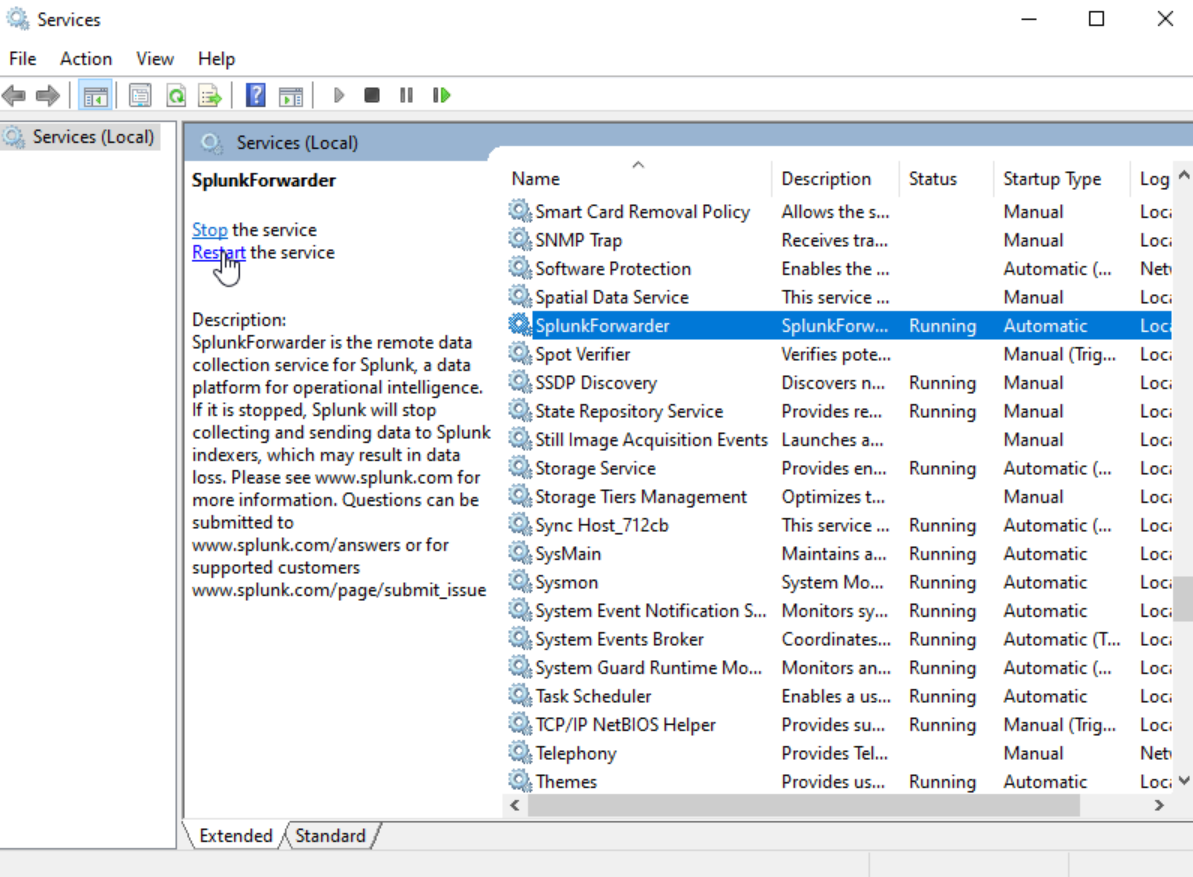
Run services as administrator. Select SplunkForwarder.
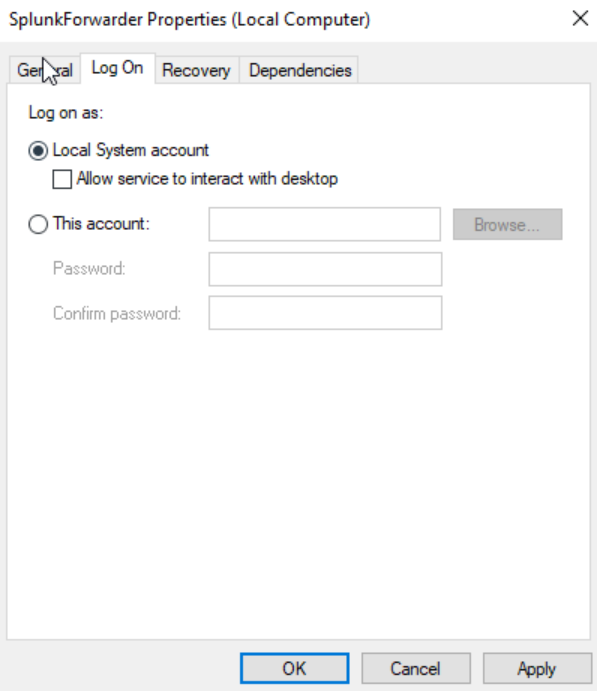
Change the log on as ‘Local System account’. Restart it.
 Go to the Splunk portal on port 8000 and login.
Go to settings then indexes.
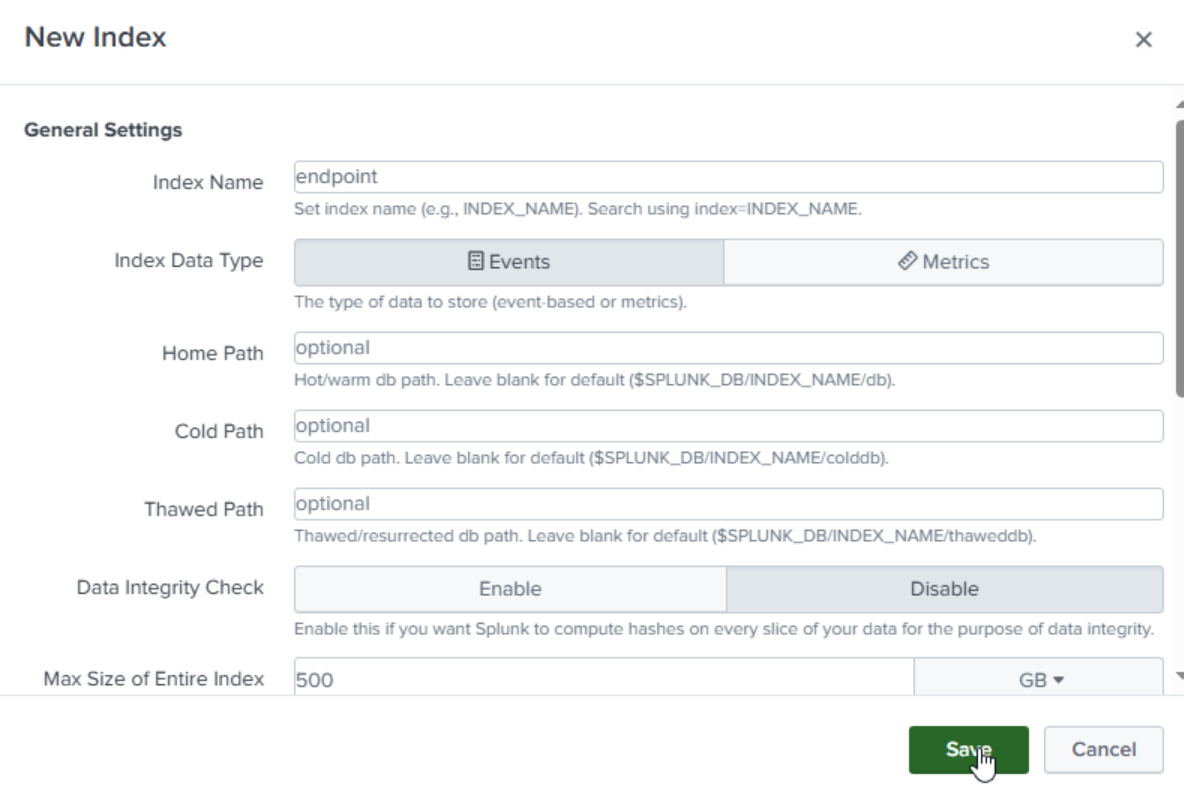
Create a new index called ‘endpoint’.
Click on ‘new index’. Name it ‘endpoint’ then save.
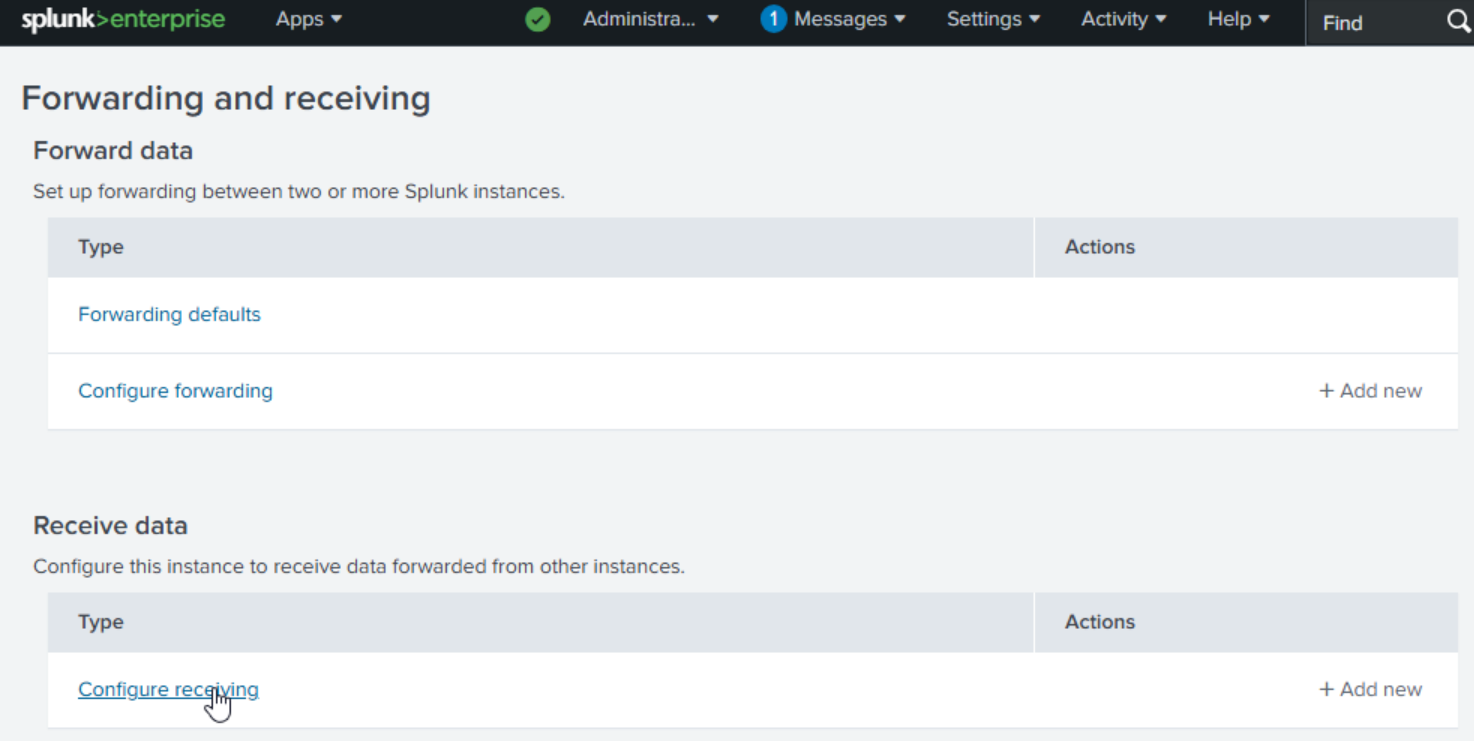
Go to settings then forwarding and receiving.
Click on configure receiving. Then new receiving port.
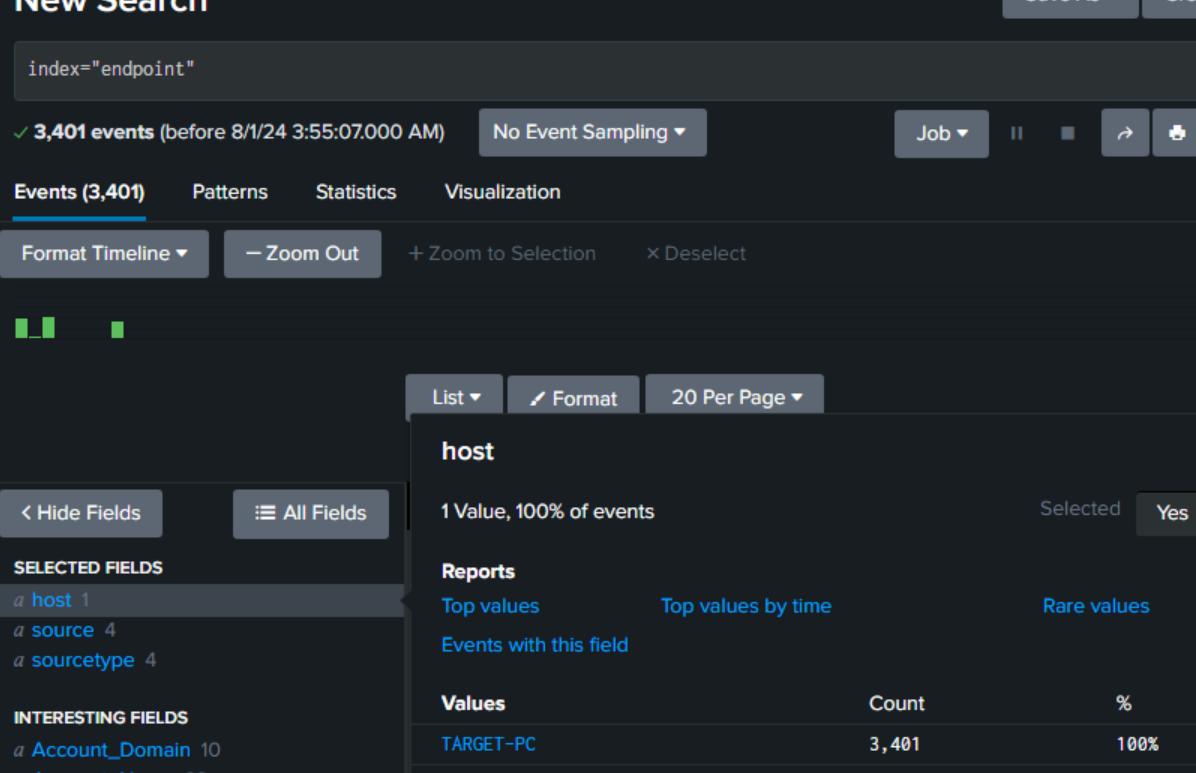
 Click on apps the search and reporting.
Events are coming through. Do the same with the Active Directory server and Splunk and Sysmon will be installed an configured.


