ATTACKING ACTIVE DIRECTORY | CONFIGURING ACTIVE DIRECTORY
Objective
Active Directory implementation can get complicated. There are many ways to configure it and many scripts that can help with automating the process.
I’m going to configure Active Directory on this network with a domain controller on the Windows Server. IP 192.168.10.7. Change the DNS setting to point to this server and add 2 organizational units and 2 users to it. This will be enough demonstrate an attack on AD.
Implementation
Logon to the AD Server. Change the name of the PC to ADDC01 to make more recognizable.
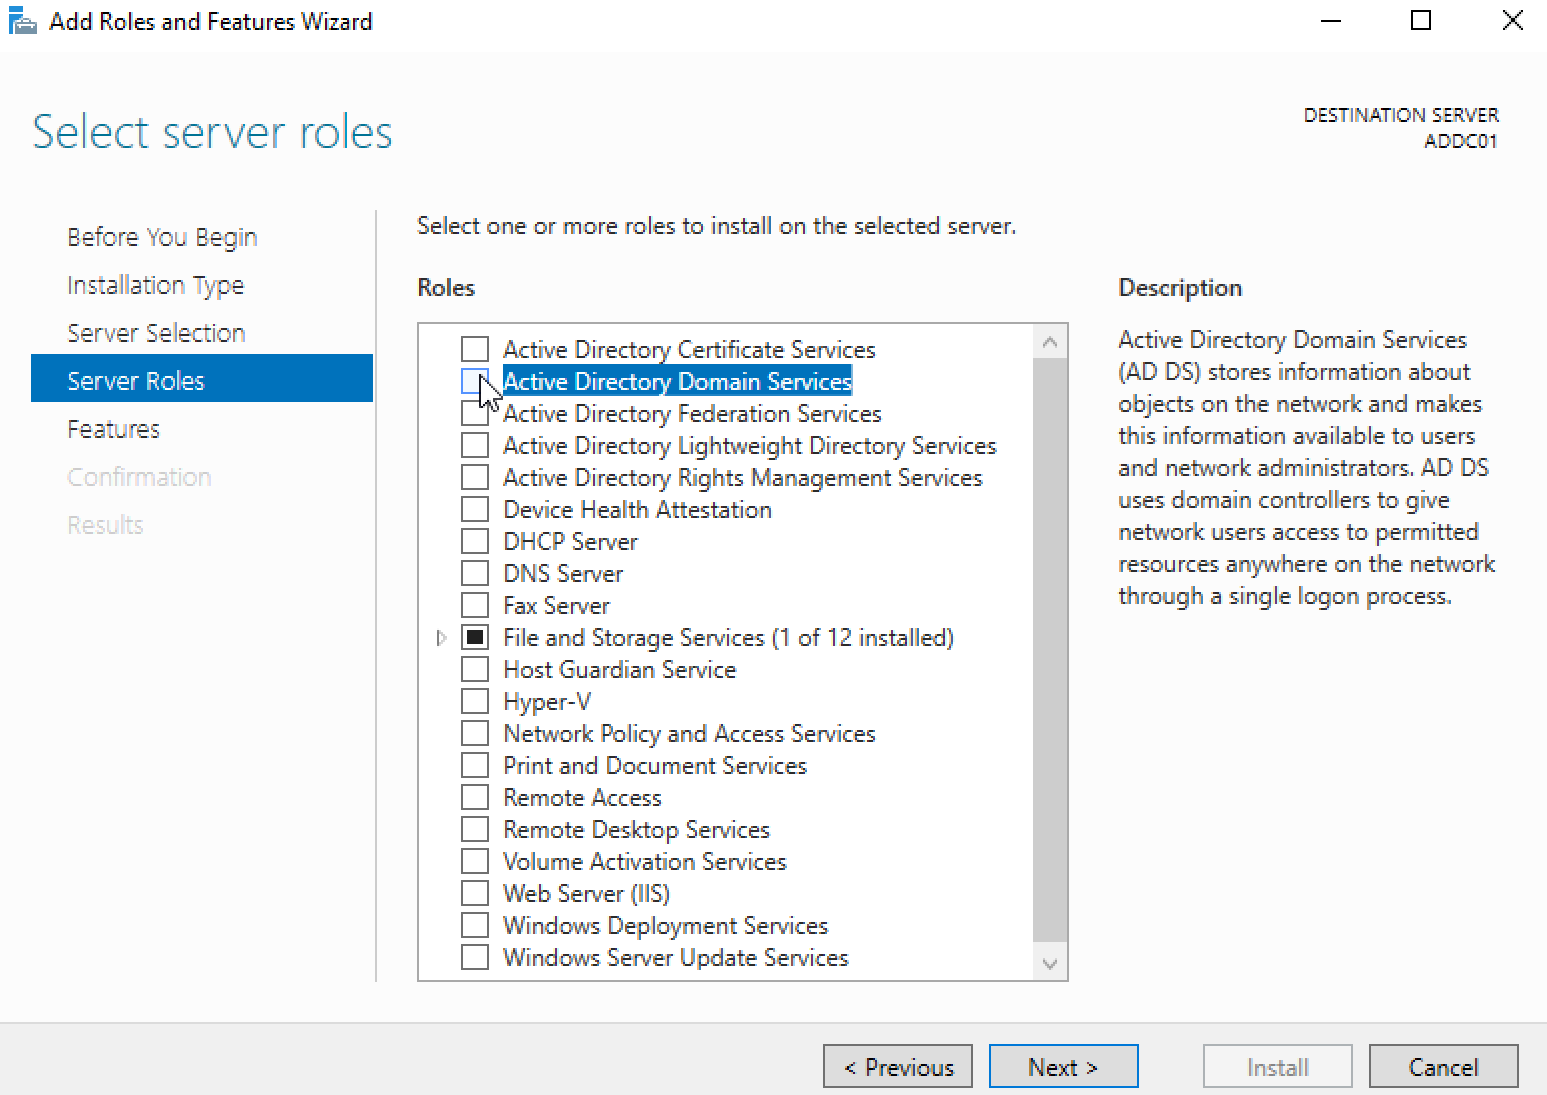
Open up ‘Server Manager’. Click on ‘manage’ then ‘Add Roles and Features’.
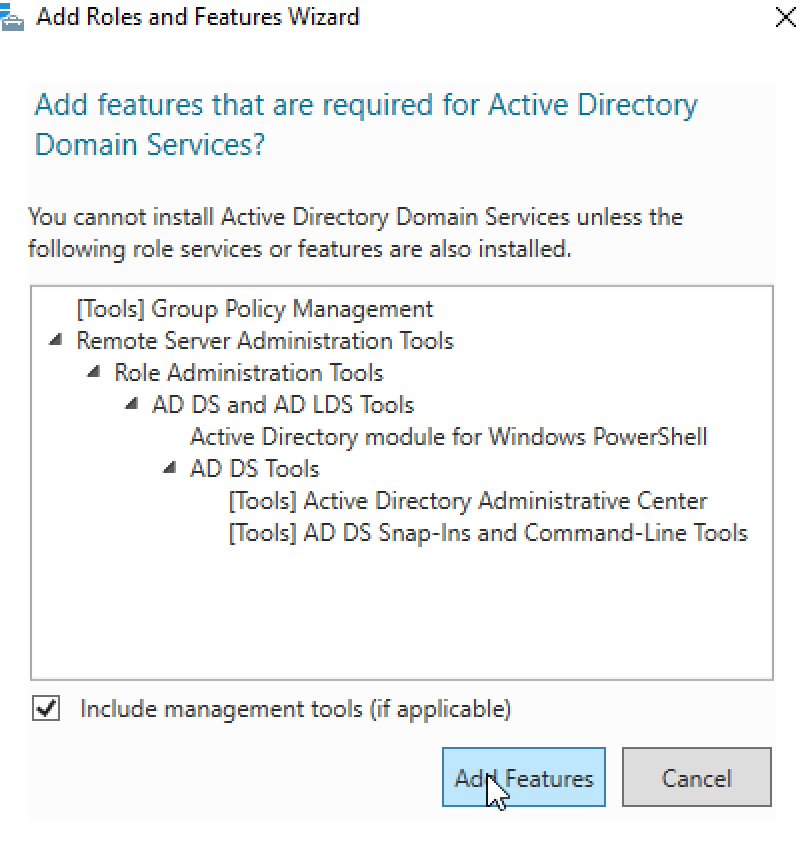
Go through the steps using the default settings until ‘Server Roles’. Choose ‘Active Directory Domain Services’.
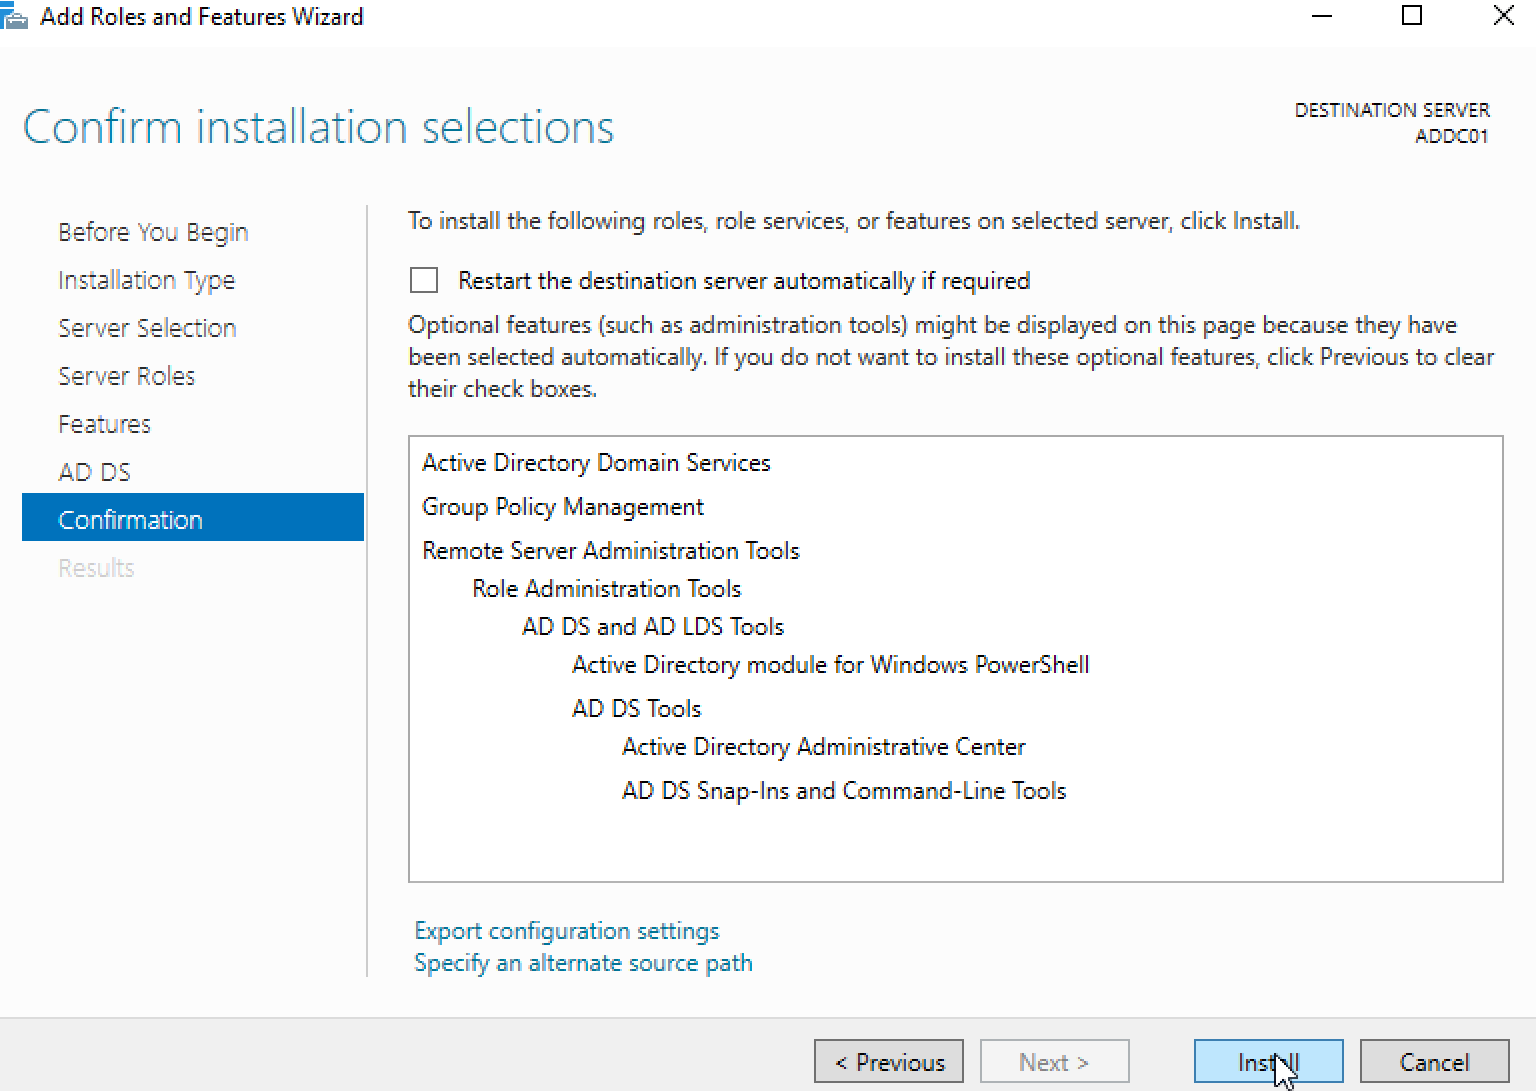
Complete the Installation. Use the default configuration for the rests of the steps.
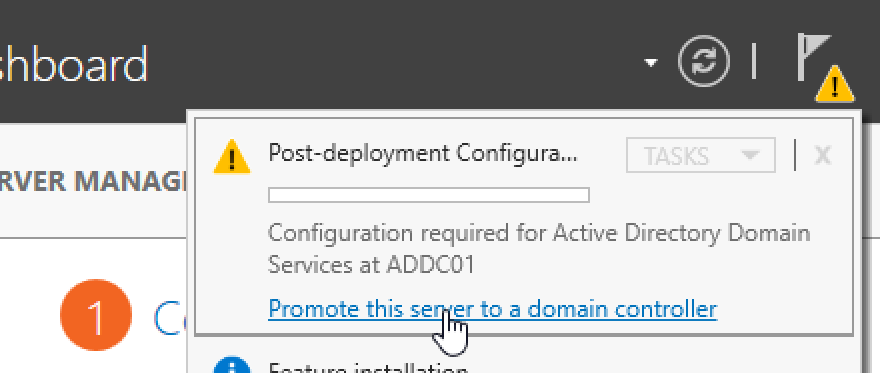
Click on the flag icon on the top right and promote the server to a domain controller.
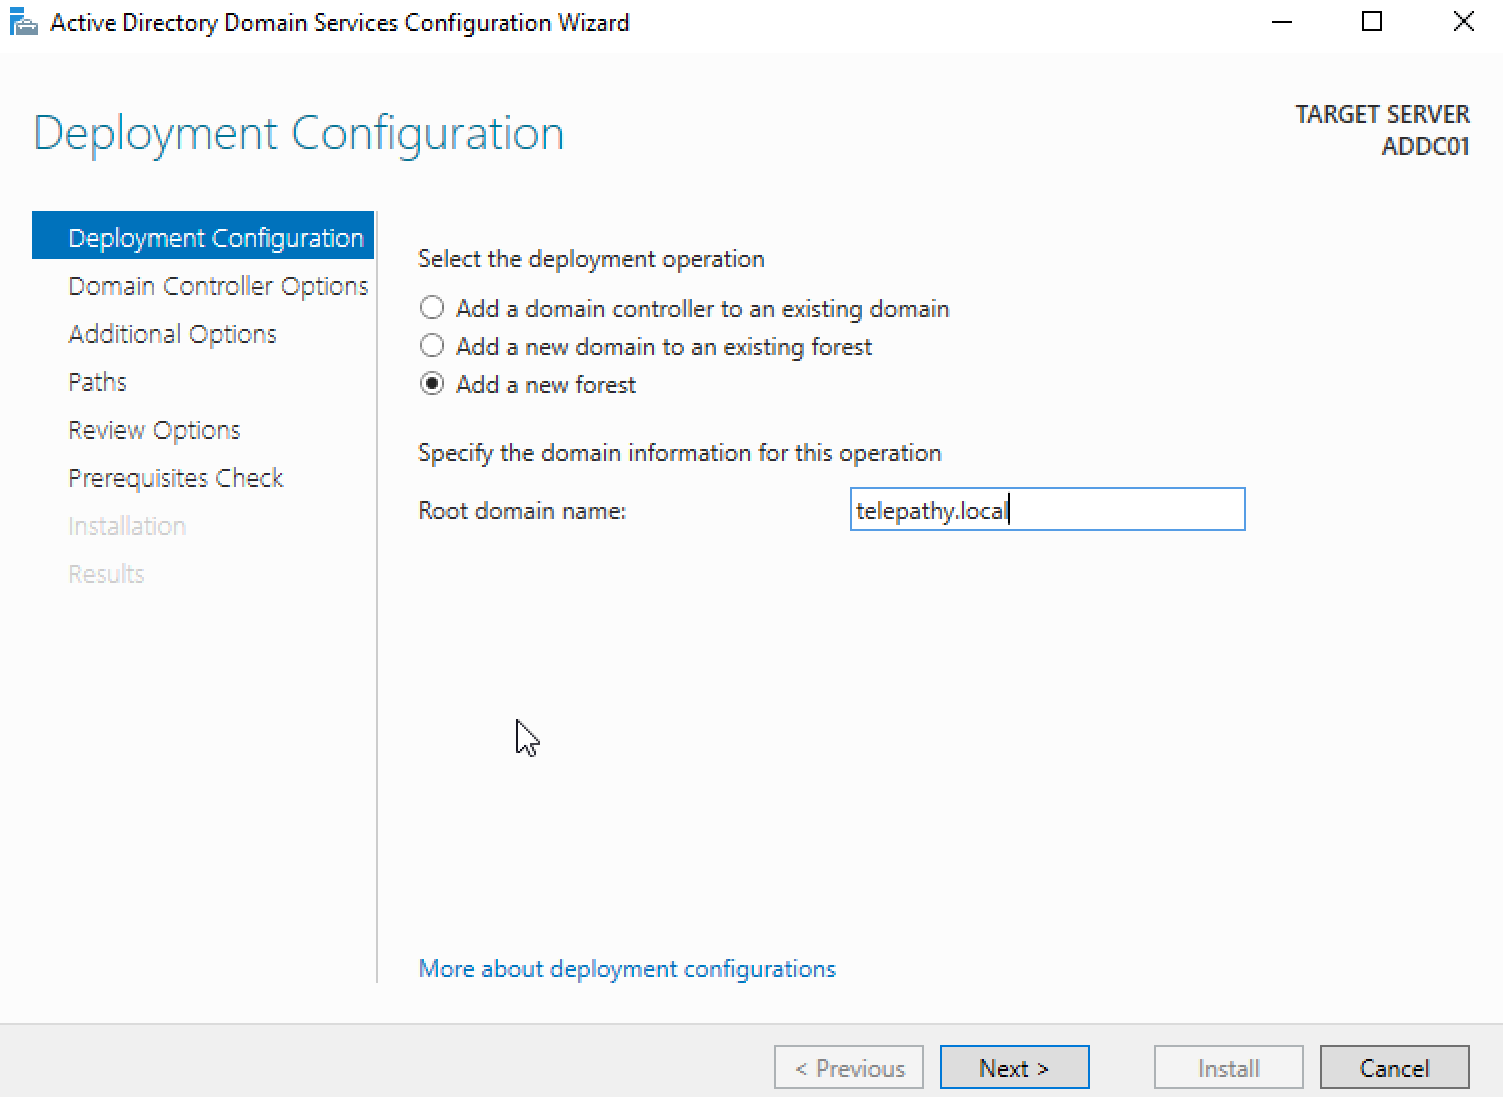
The first step, choose ‘Add a new forest’. Name the root domain name ‘telepathy.local’.
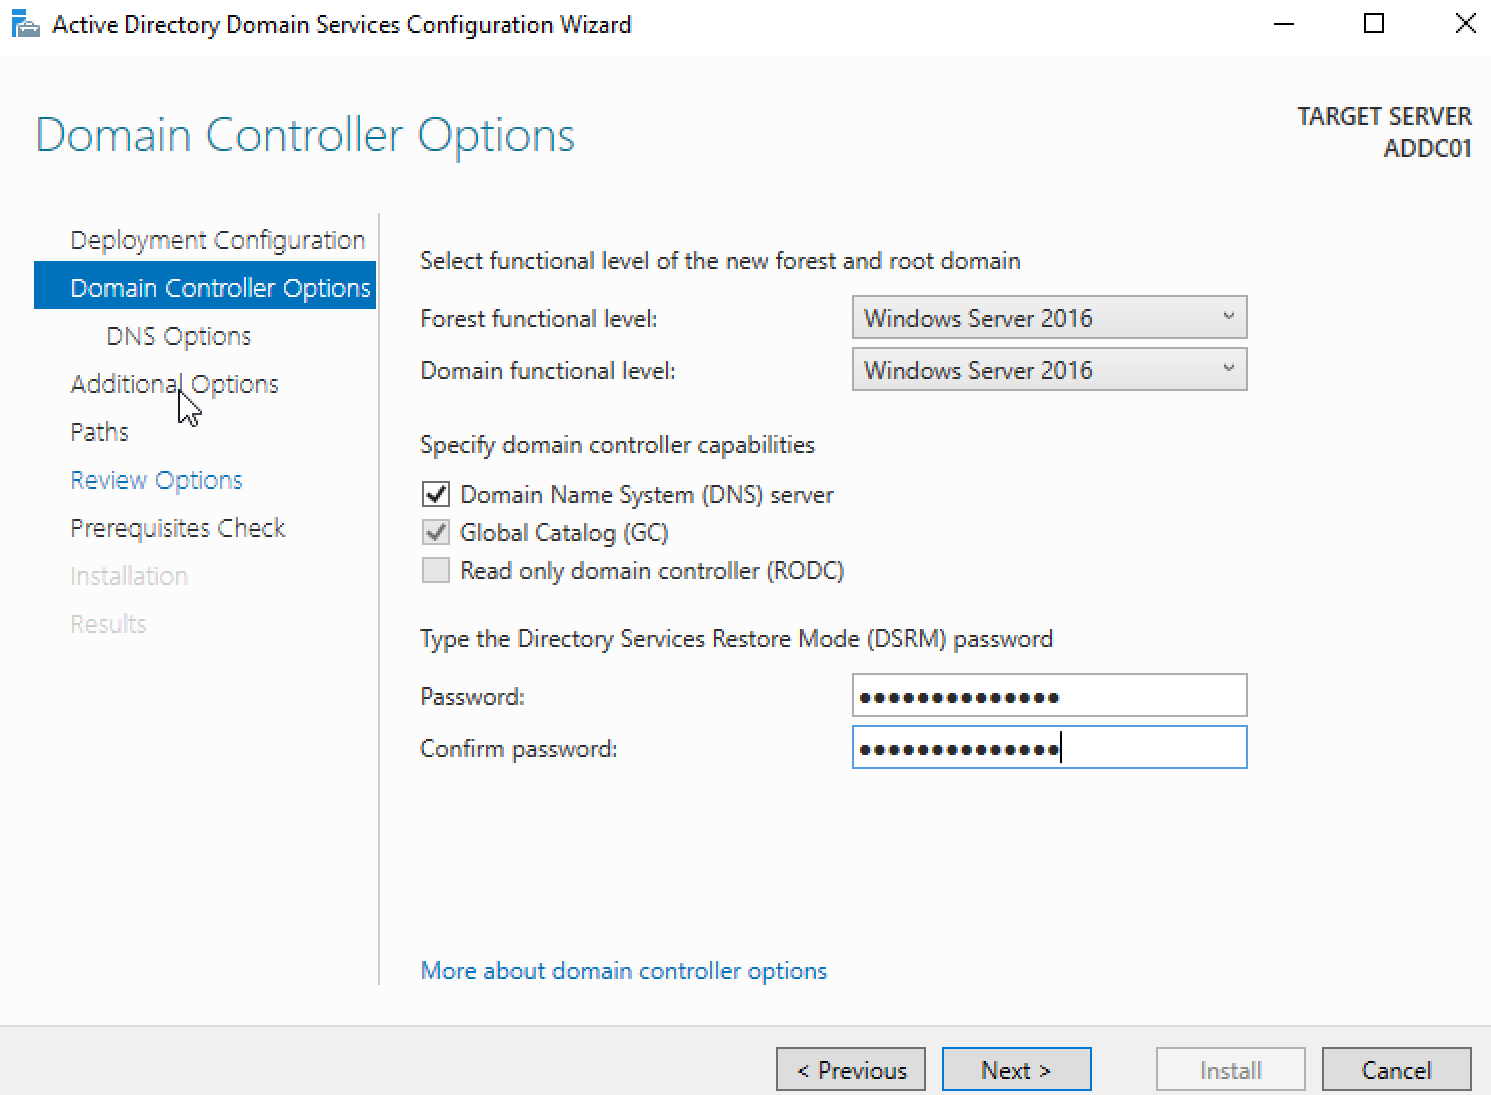
Create a password and complete the installation. Restart the computer.
Once the system is rebooted, go back to server manager and choose ‘tools’ then ‘Active Directory Users and Computers’.
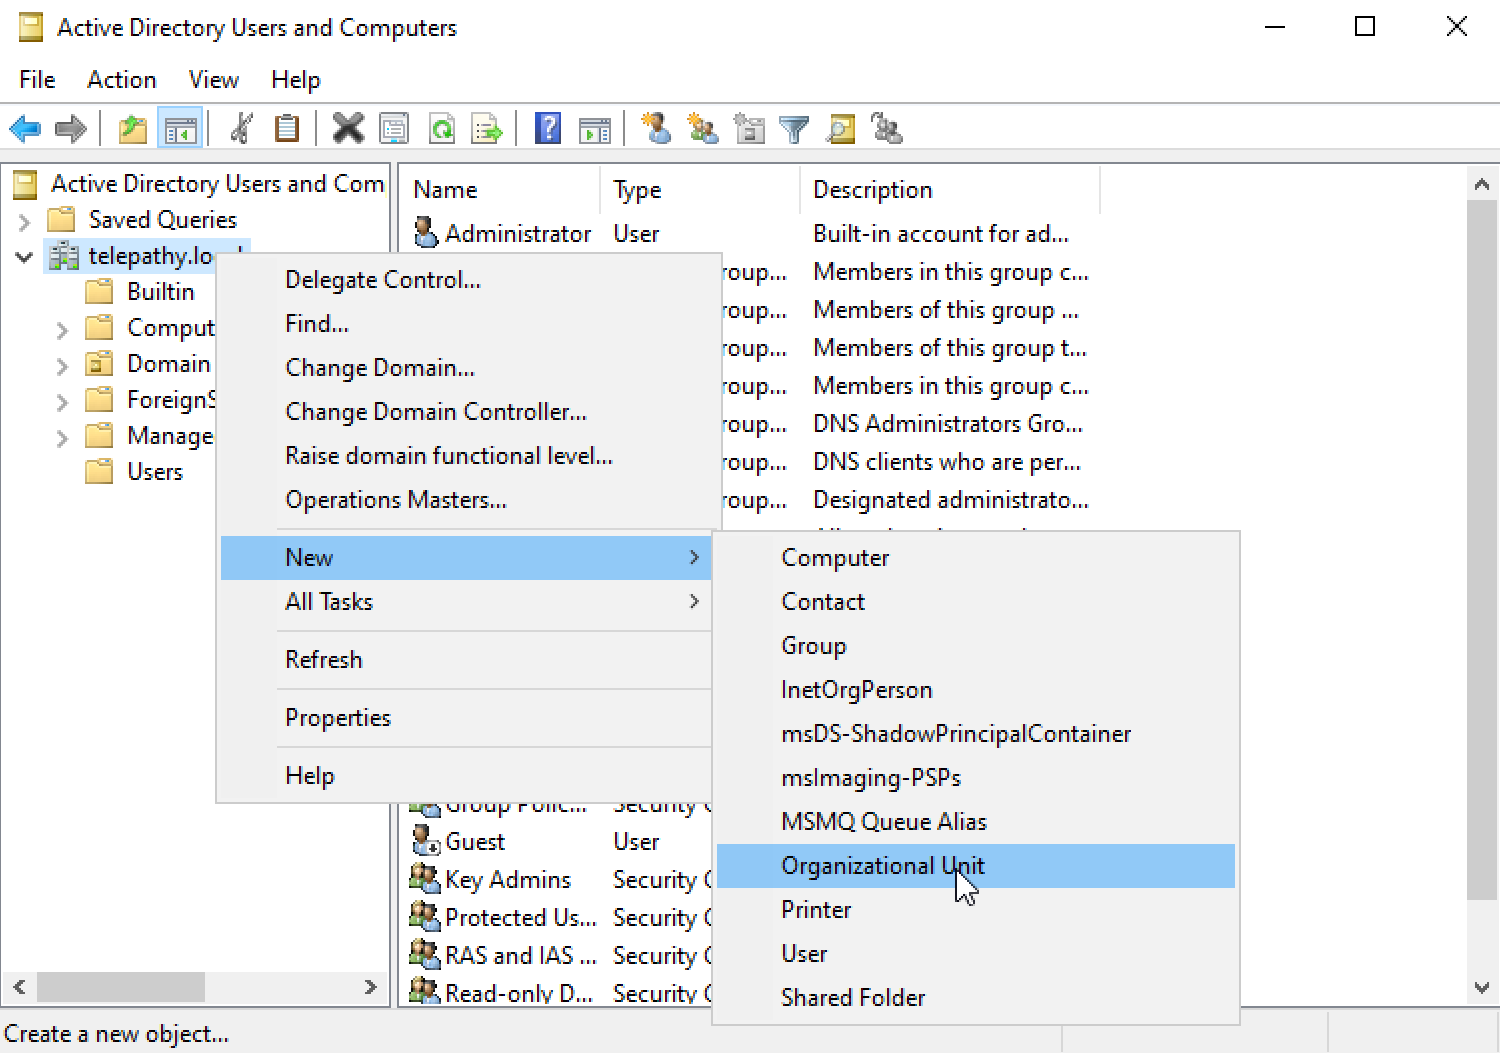
Right-click on the domain, then select ‘new’ then ‘Organizational Unit’. Create one called ‘IT’.
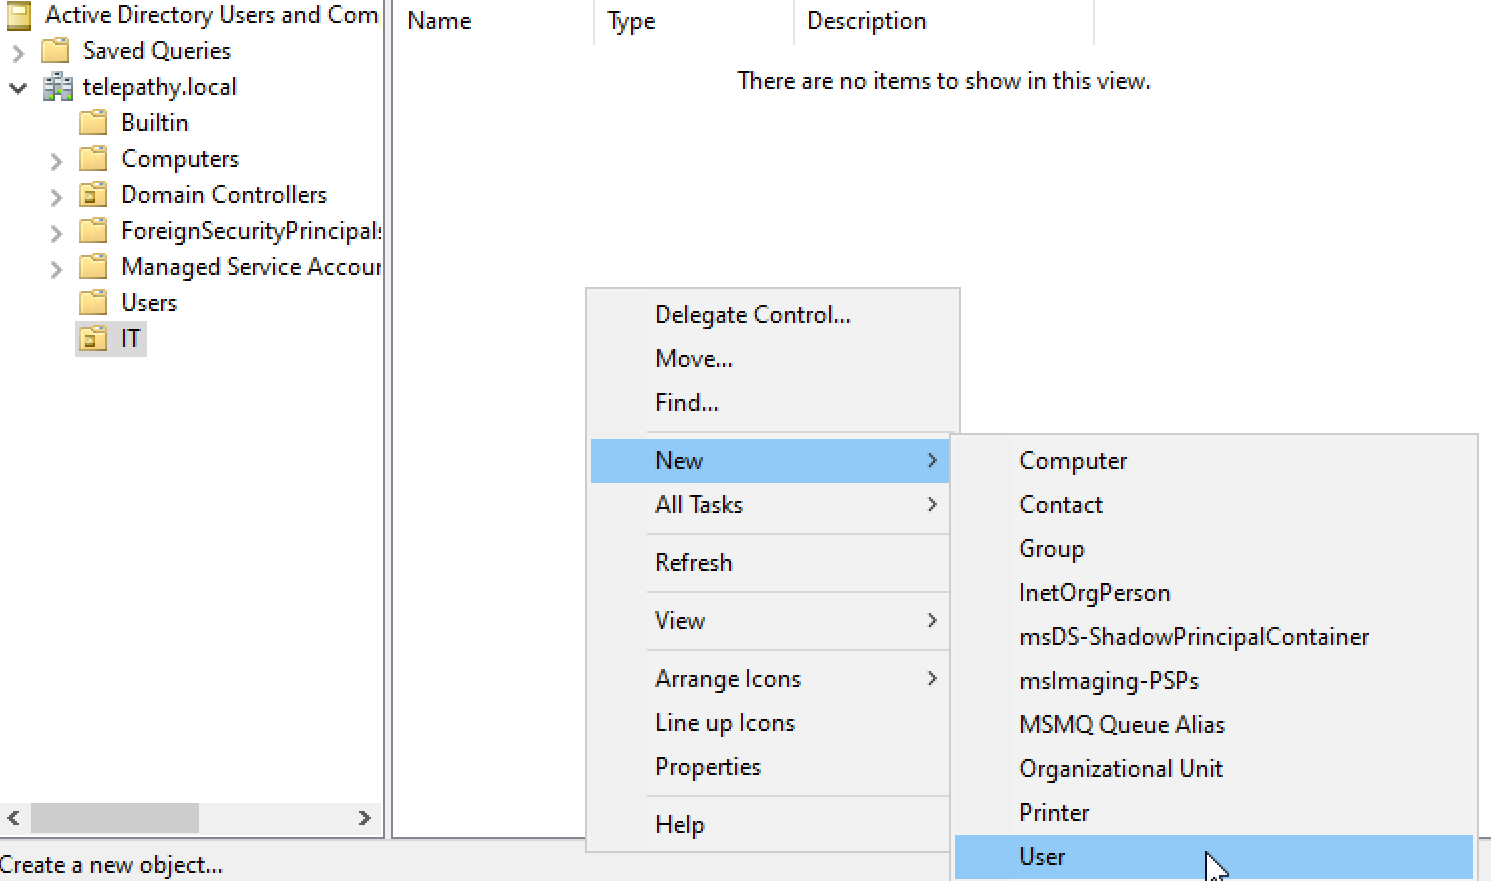
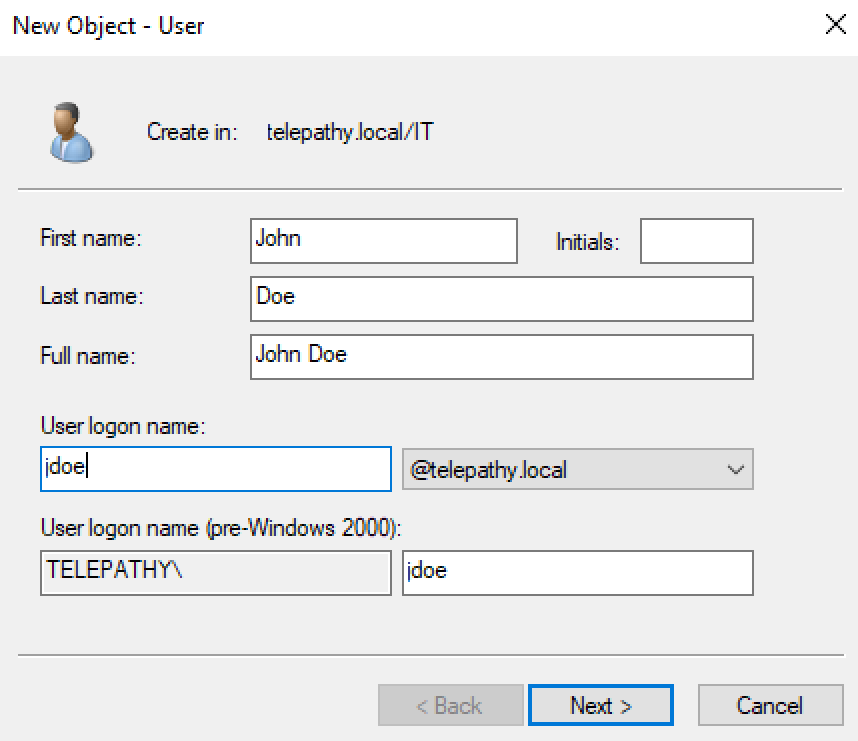
Right-click in the newly created ‘IT’, then ‘new’, then ‘user’.
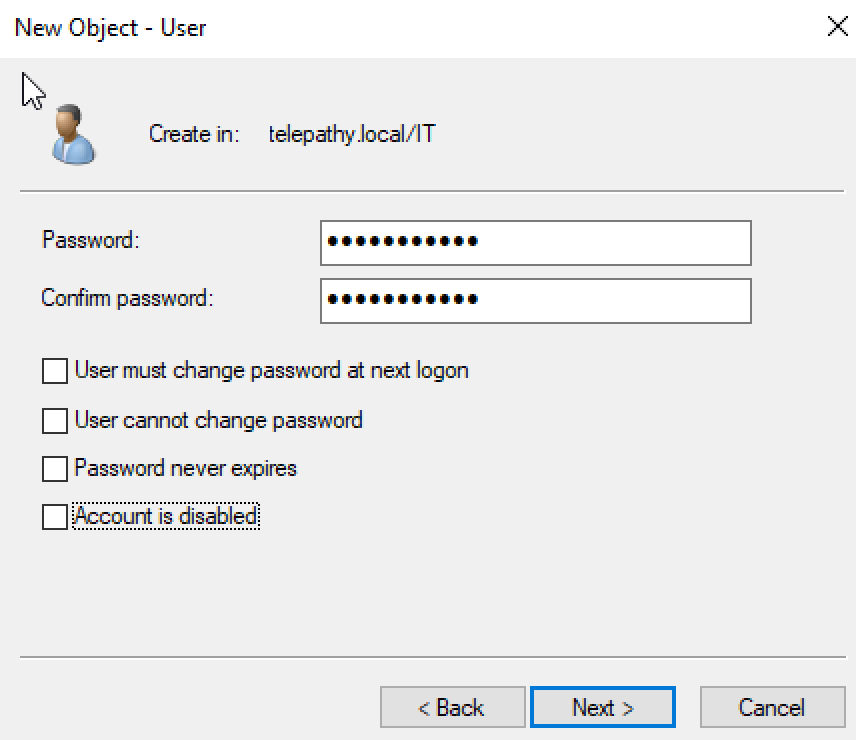
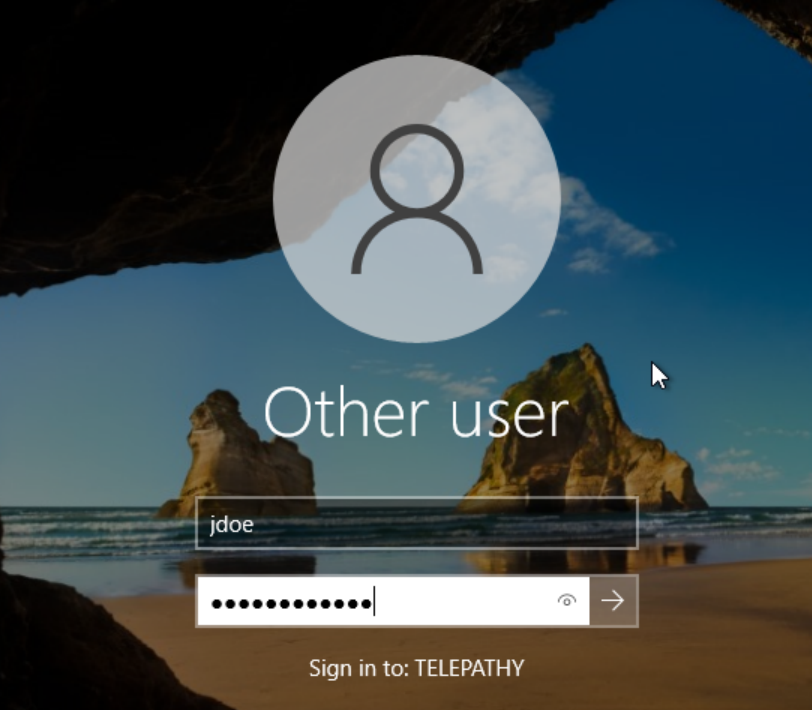
Create a user named John Doe then give him a logon name and password. Uncheck ‘user must change password at next logon’.
Create a new Organizational Unit called ‘HR’ and add a user named Jane Doe to it.
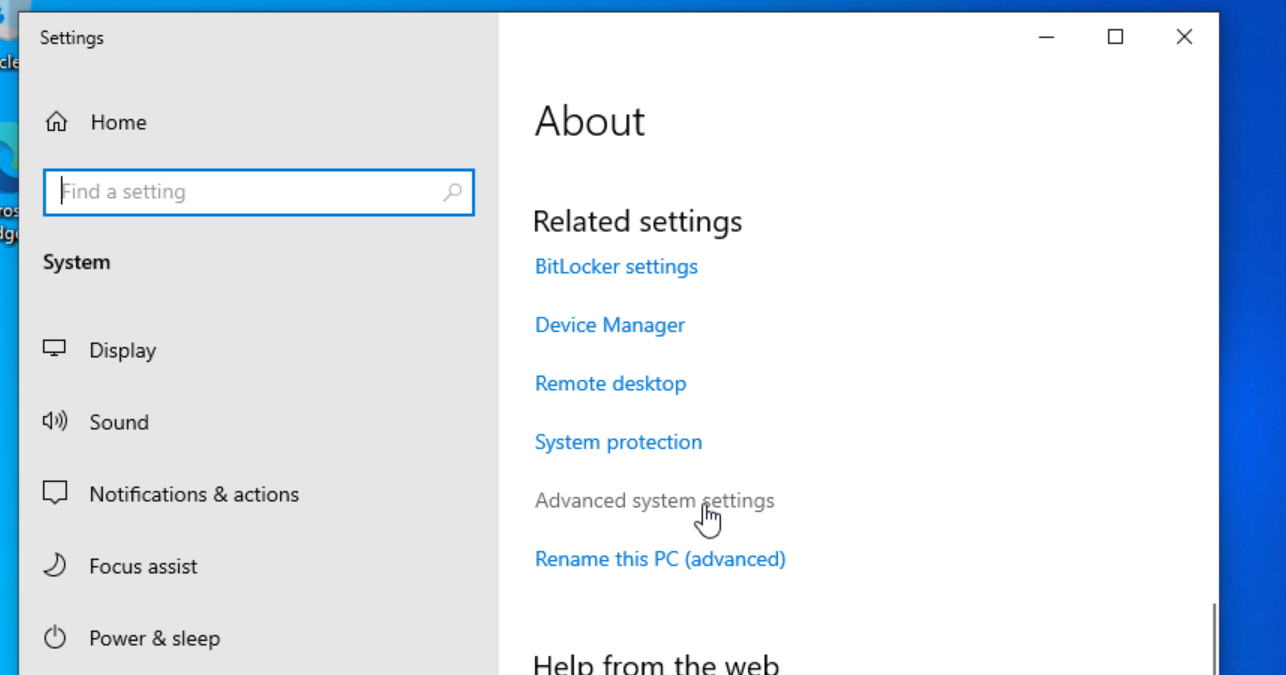
In the start menu, search for ‘This PC’ and choose ‘properties’. Choose ‘advanced system settings’ then leave it for now while we configure the DNS.
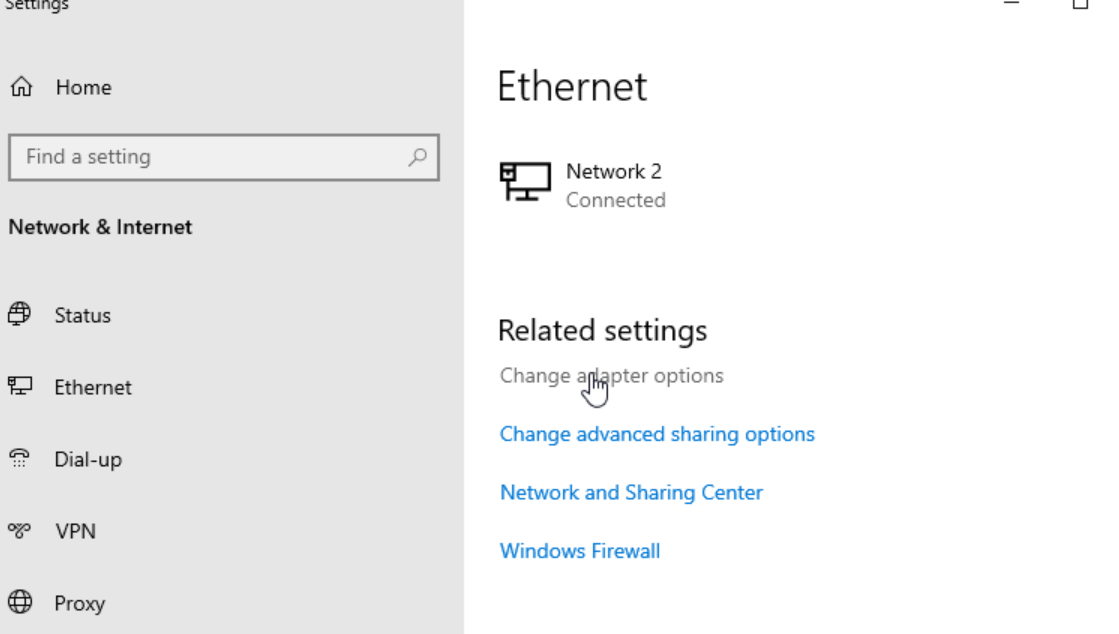
To configure the DNS, open the network and internet setting on the bottom right icon. Choose ‘Change adapter options’.
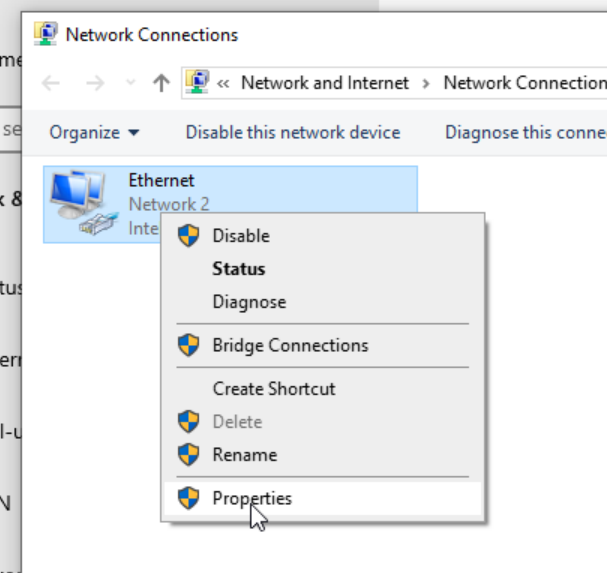
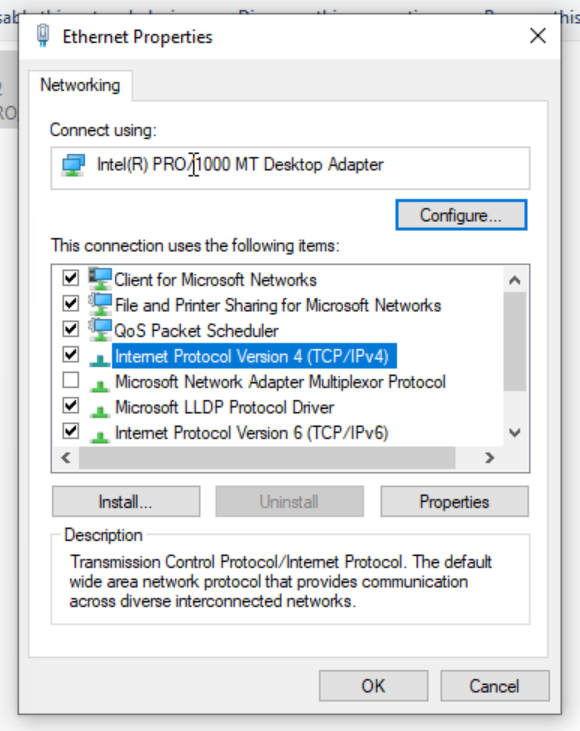
Right-Click ‘Ethernet’ and choose ‘Properties’. Double-click ‘IPv4’.
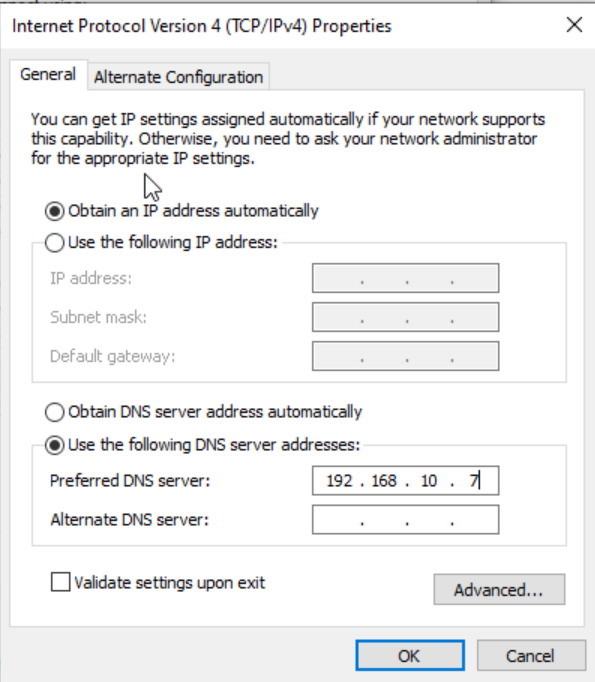
Point the DNS to the AD server IP of 192.168.10.7 and save it.
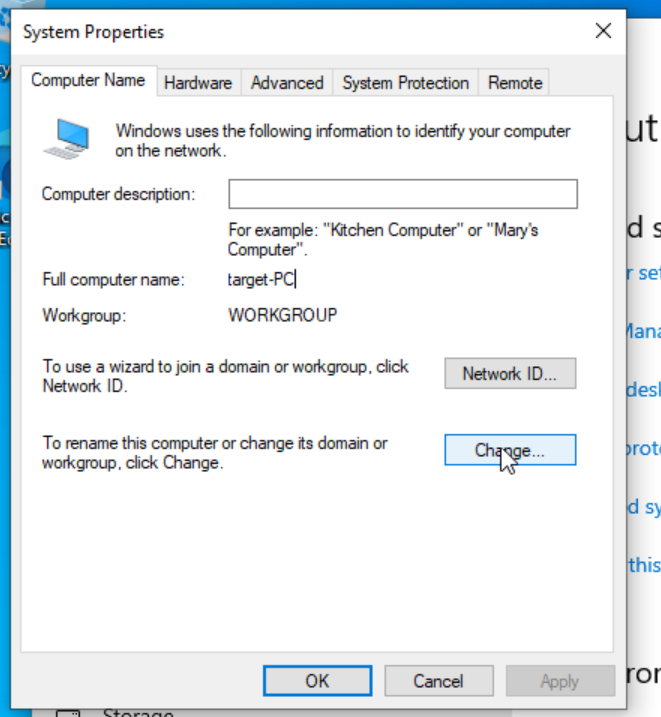
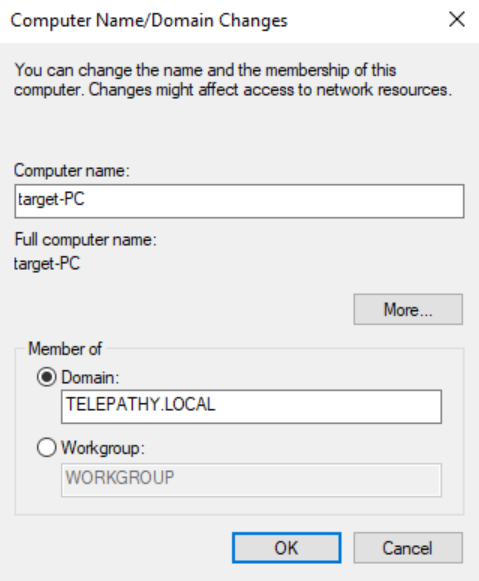
Back at the ‘advanced system setting’ window, choose ‘change’ then choose ‘domain’ and name it TELEPATHY.LOCAL and restart the computer once closing the windows.
Active Directory is now configured with a domain controller. 2 Organizational Units and 2 users.


